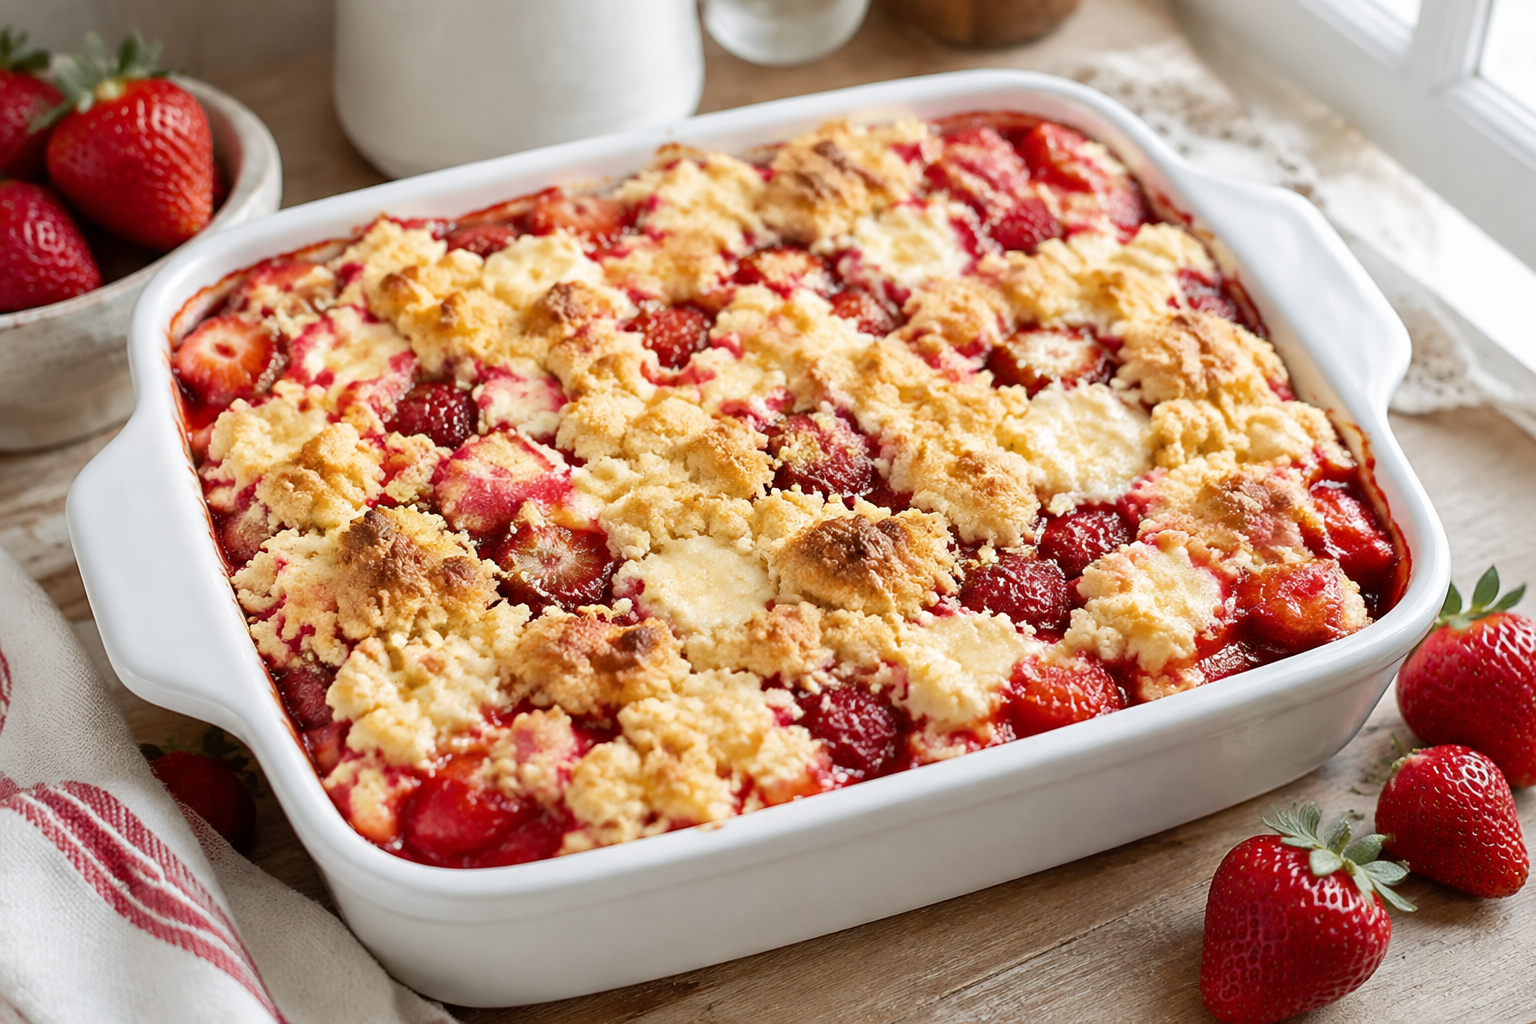
Strawberry Cheesecake Dump Cake: The Best Easy Recipe
-
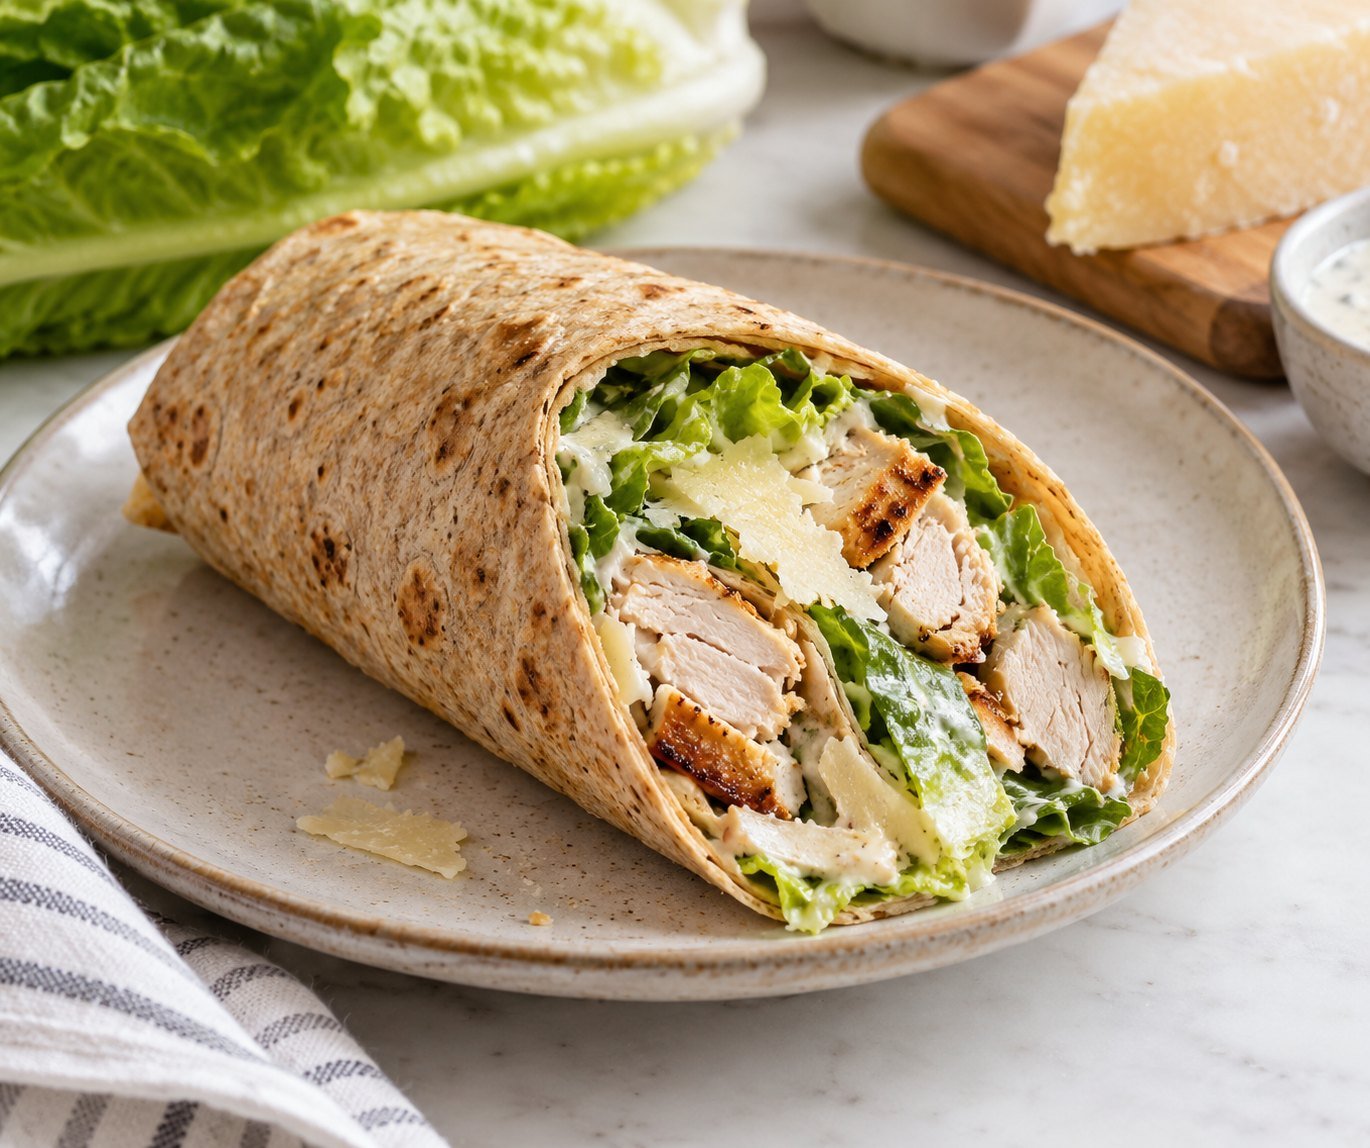
10 Healthy Wrap Recipes for Easy Lunches
-
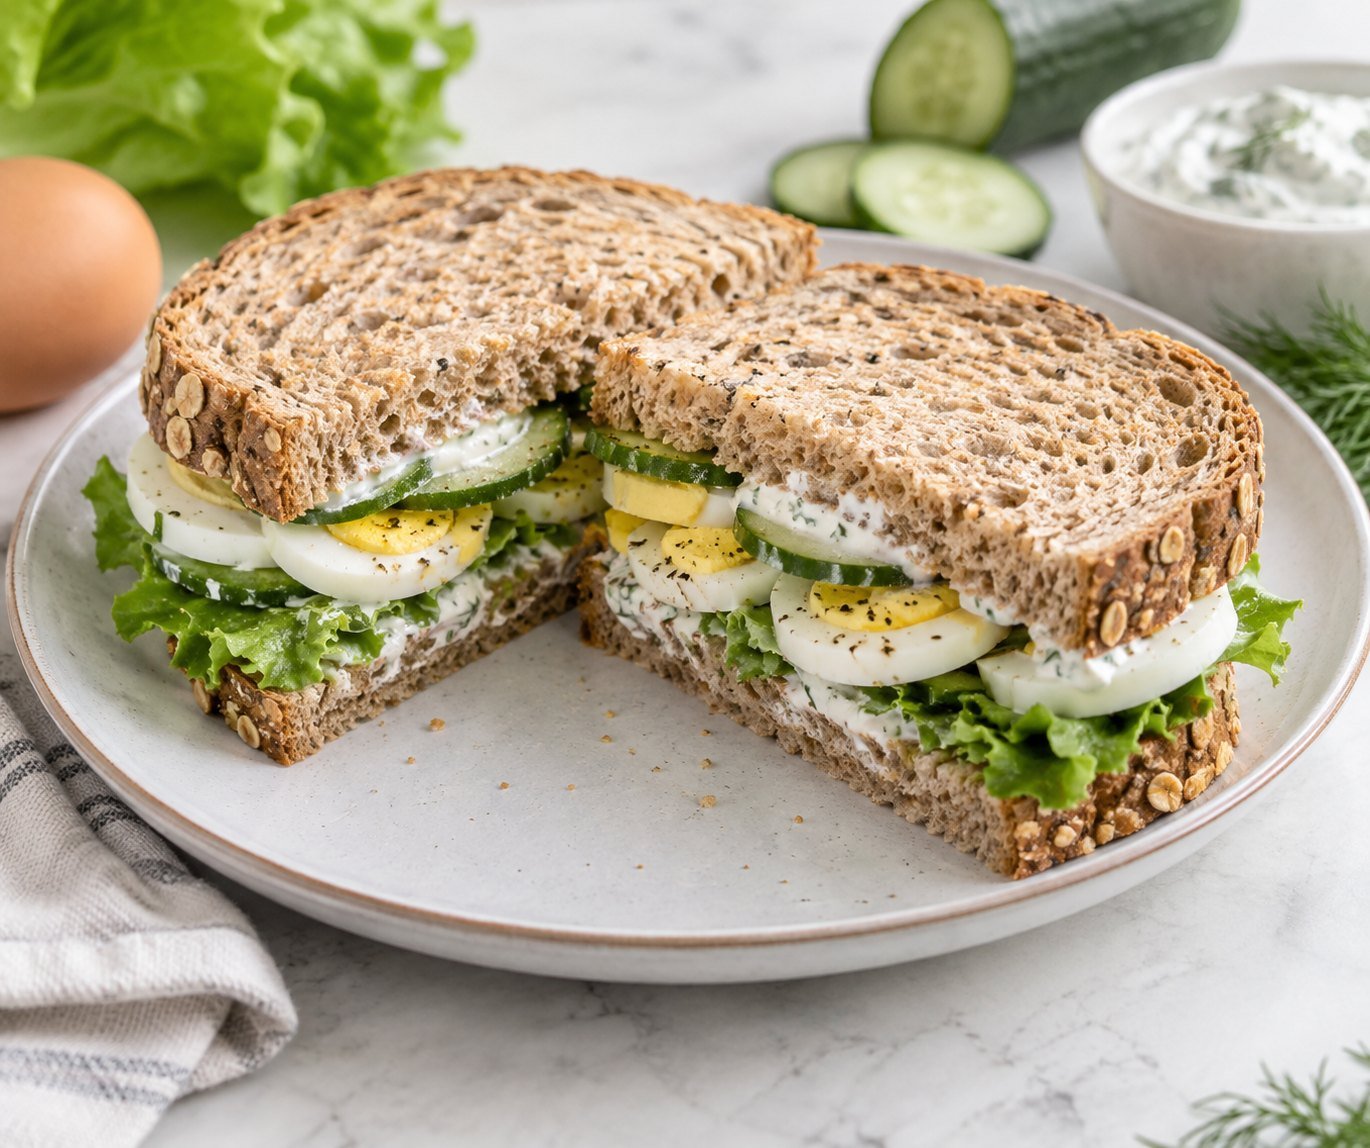
6 Healthy Sandwich Recipes for Easy Lunches
-
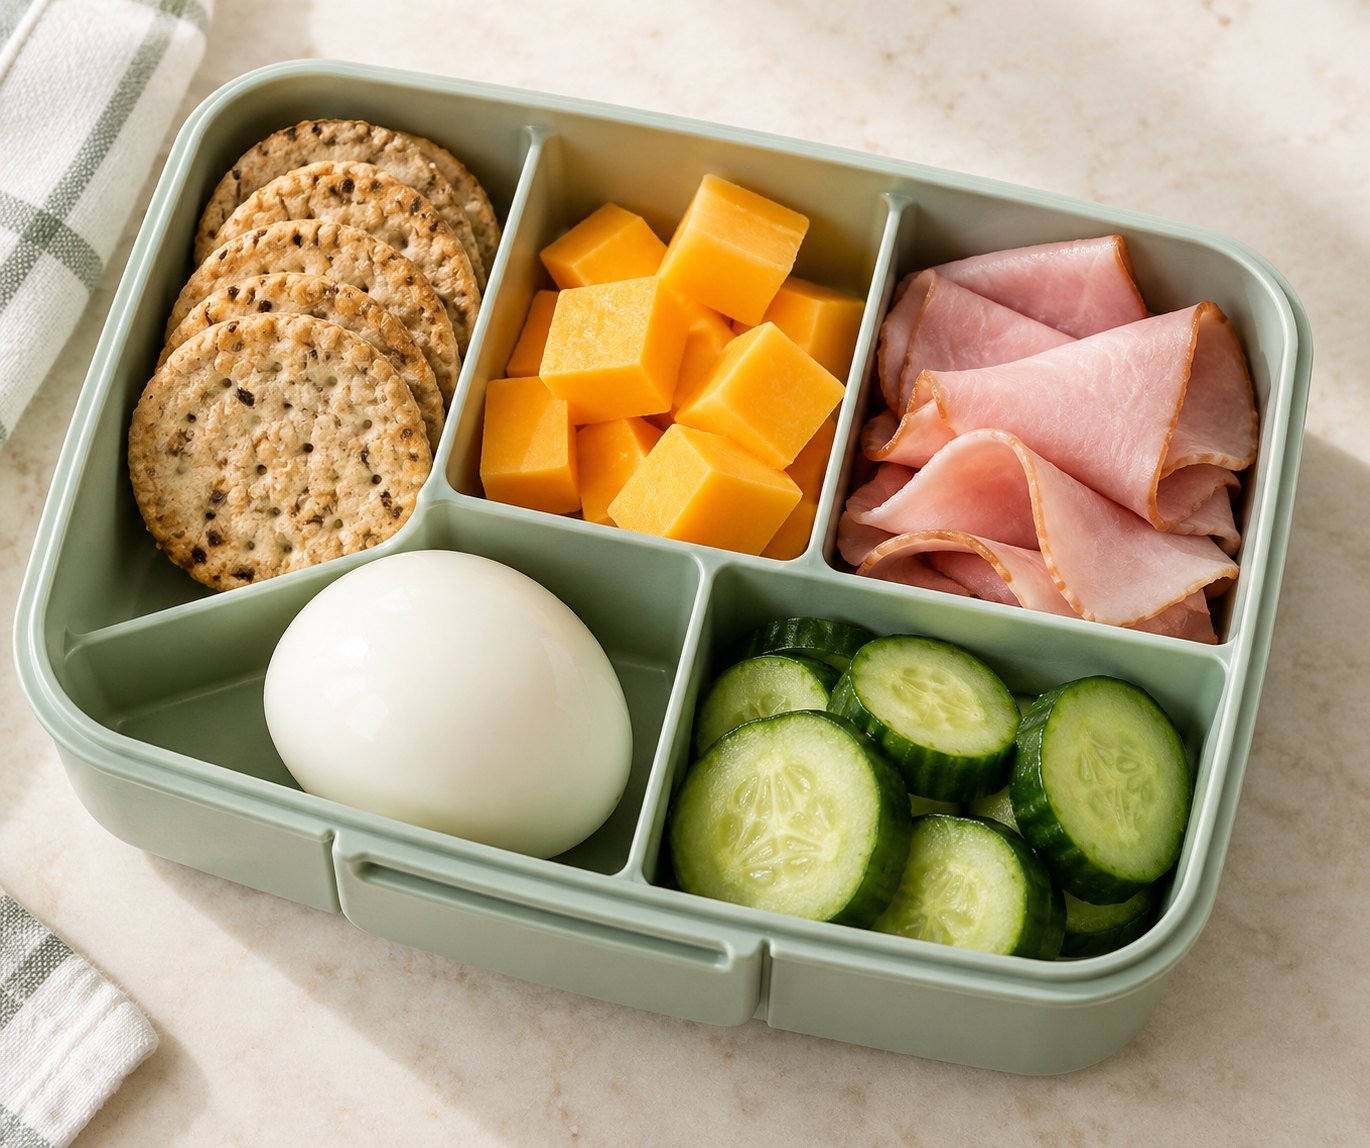
12 Simple School Lunches Kids Will Love
-
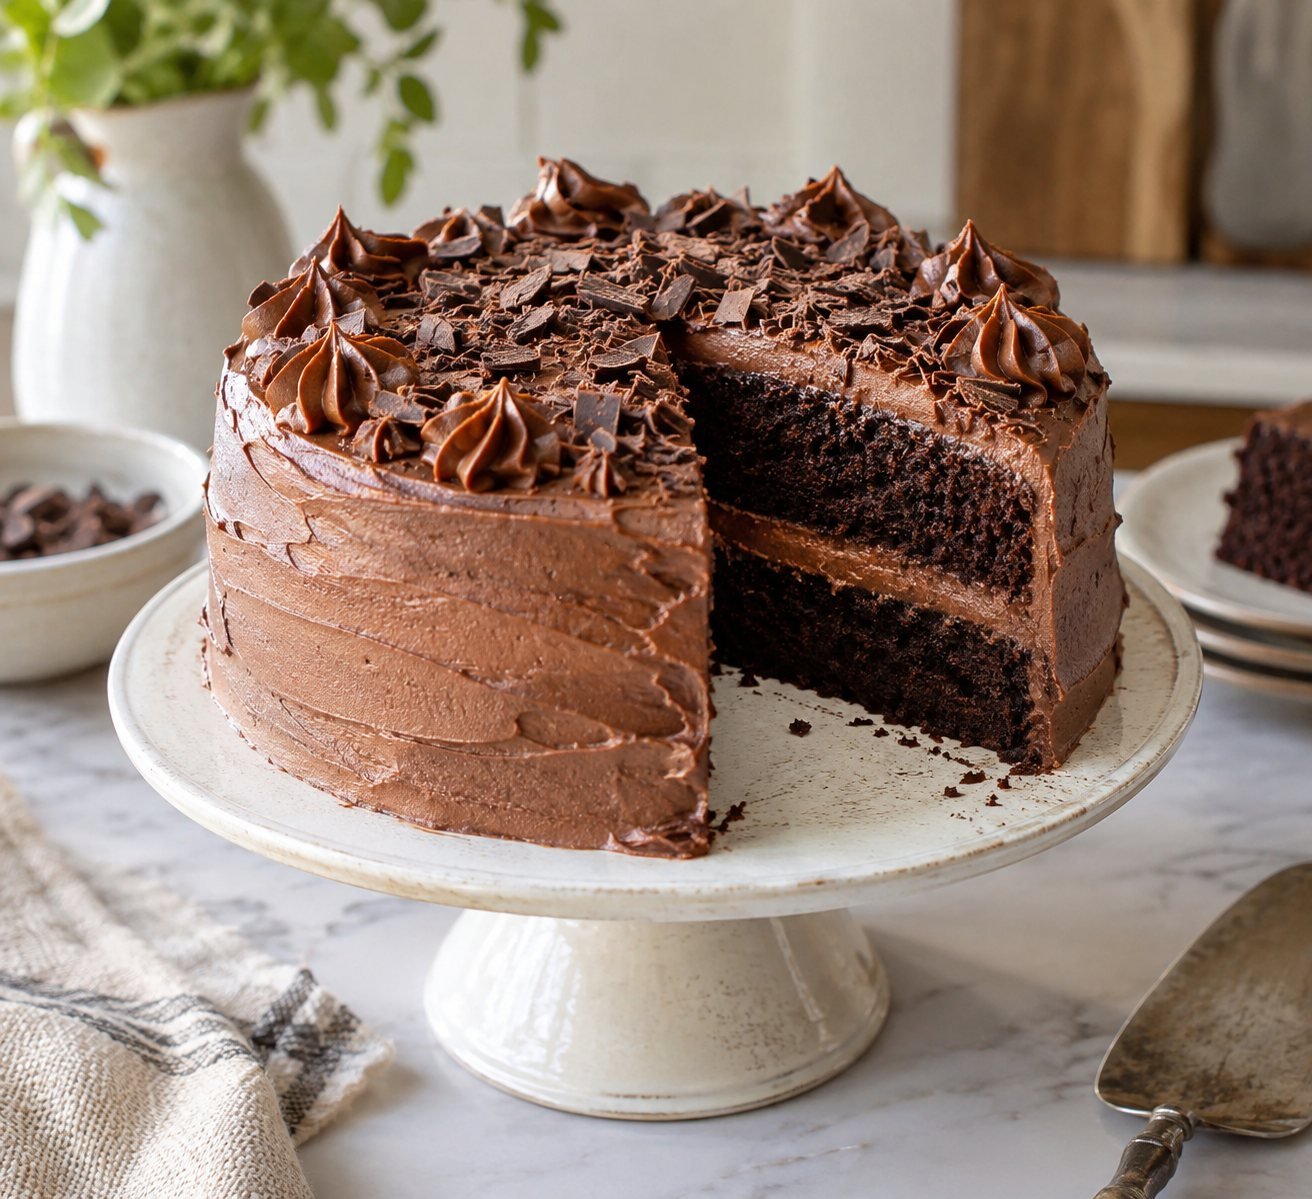
8 Homemade Chocolate Cake Recipes for Every Occasion
-
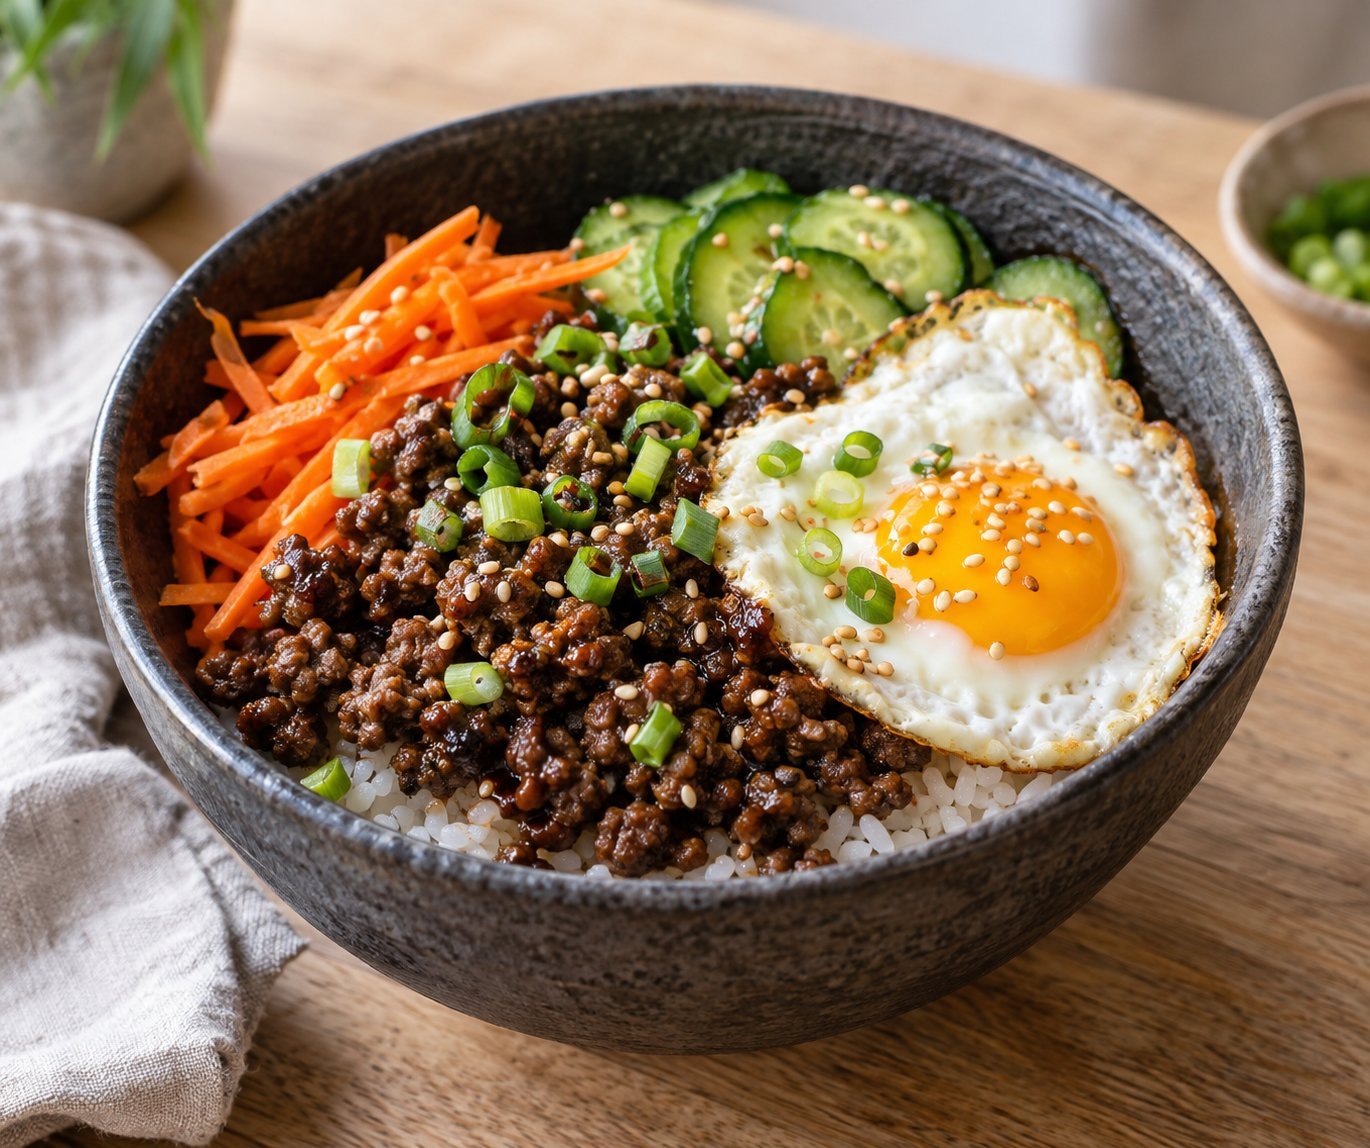
6 Easy Korean Ground Beef Bowl Recipes for Busy Nights
-

8 Refreshing Mocktails to Sip All Summer Long
-
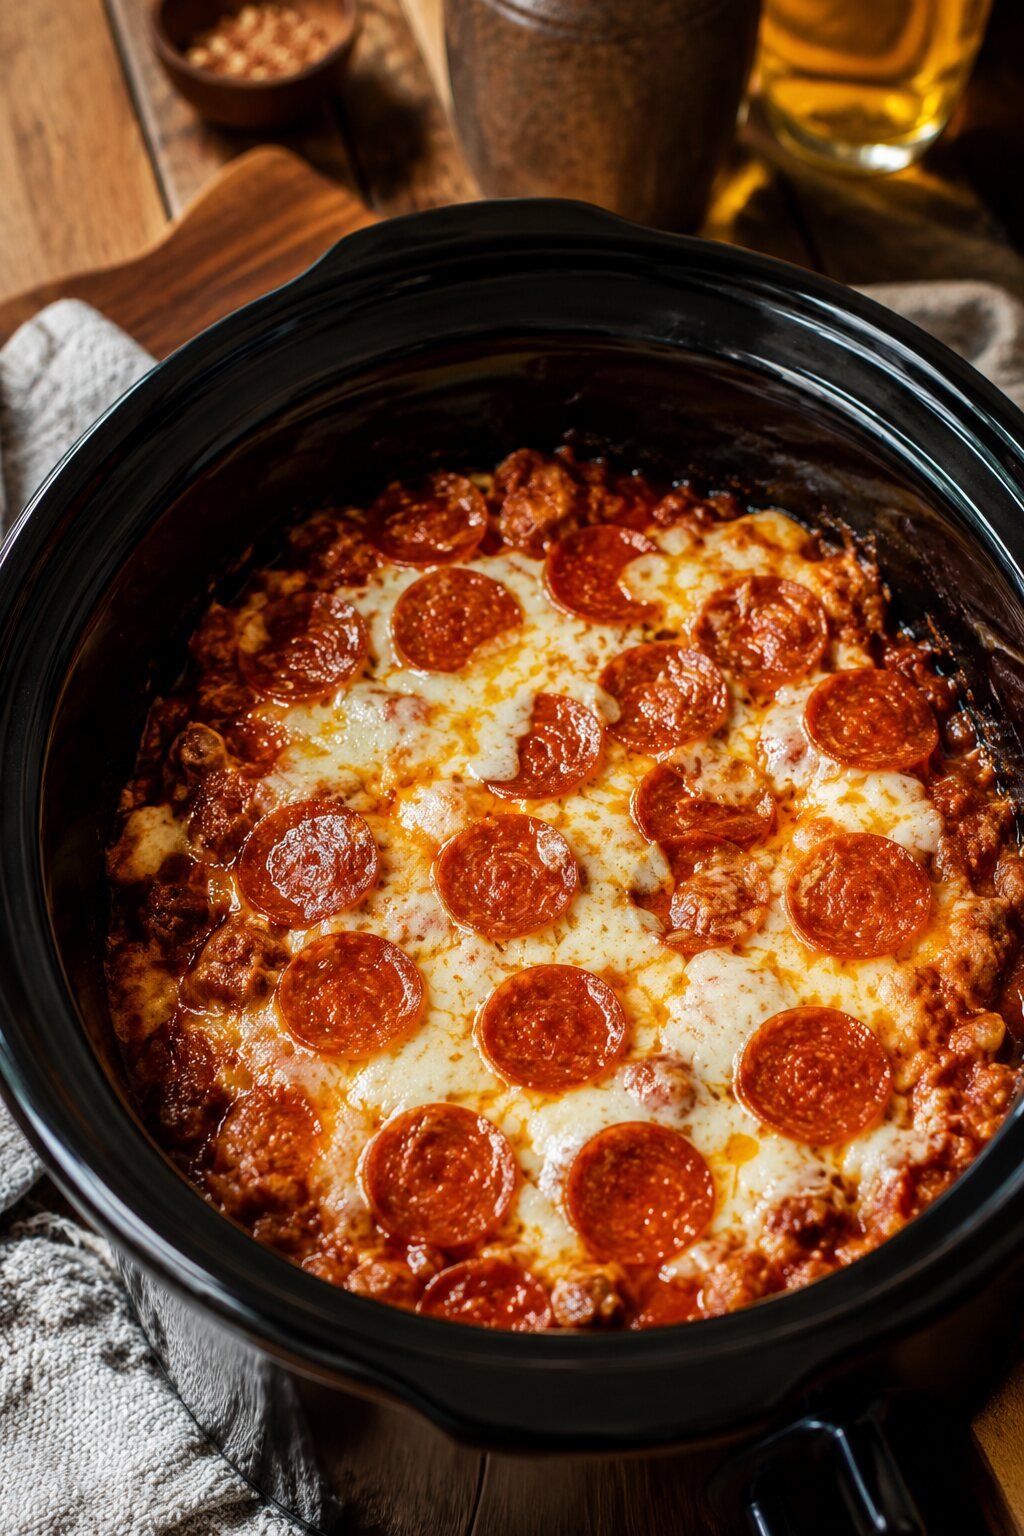
10 Dirt Cheap Crockpot Dinners for Easy Family Meals
-
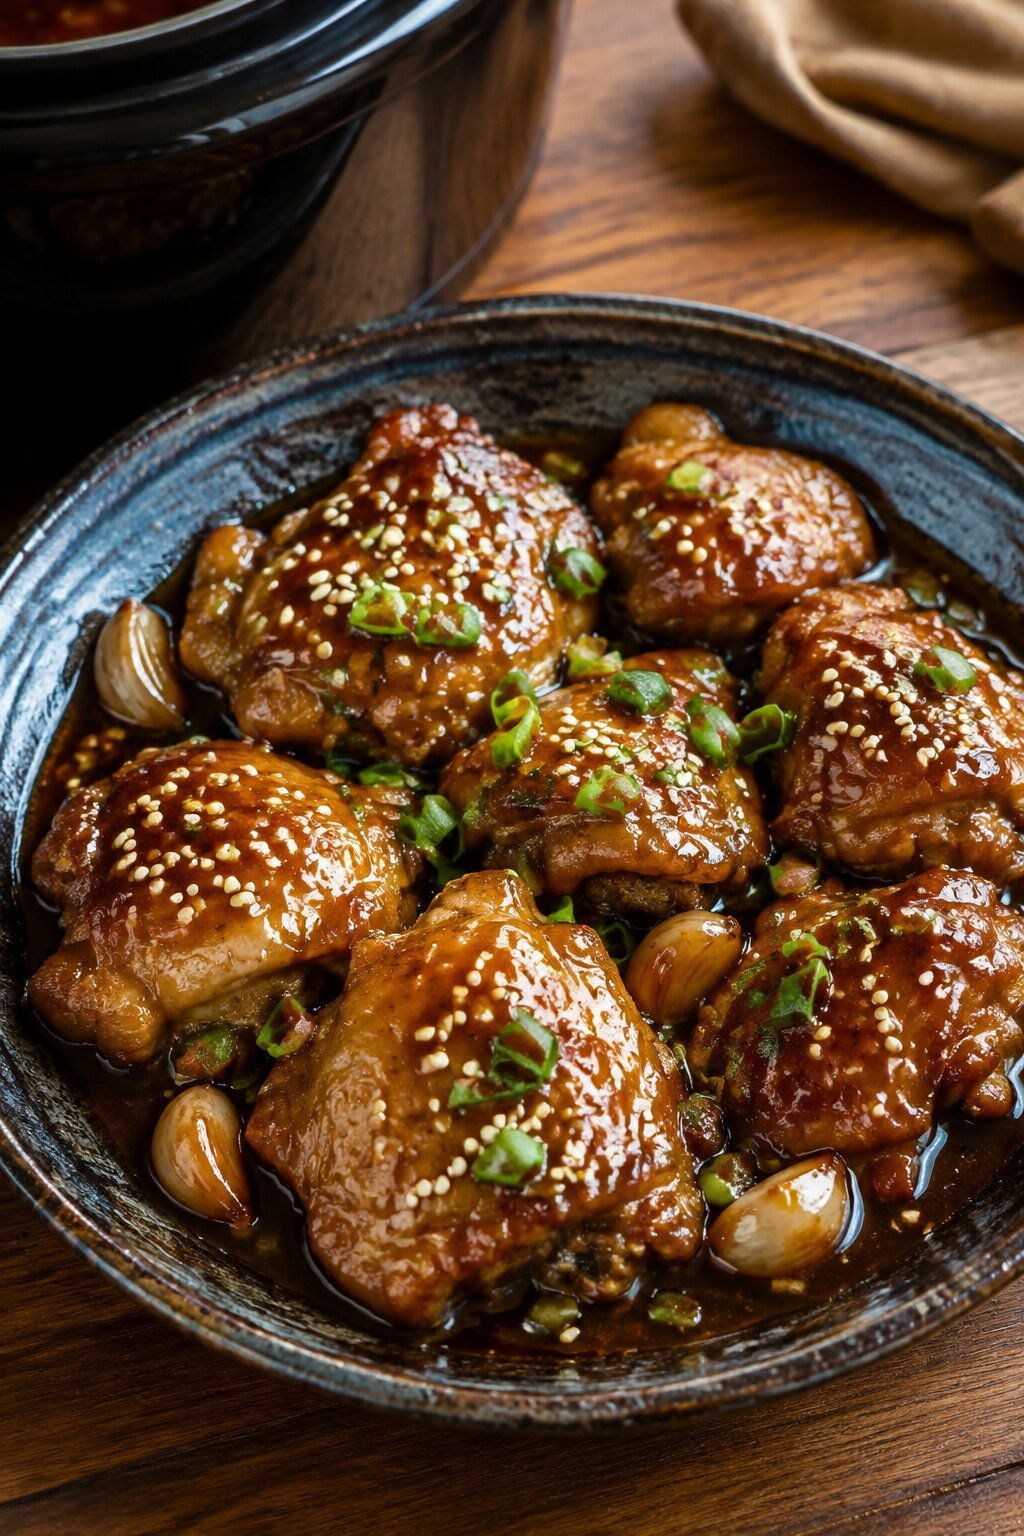
10 Dump and Go Crockpot Dinners for Busy Nights
-

The Best Breakfast Taquitos: 6 Crispy, Cheesy Recipes
-

6 Crispy Breakfast Taquitos Recipes for Easy Mornings
-
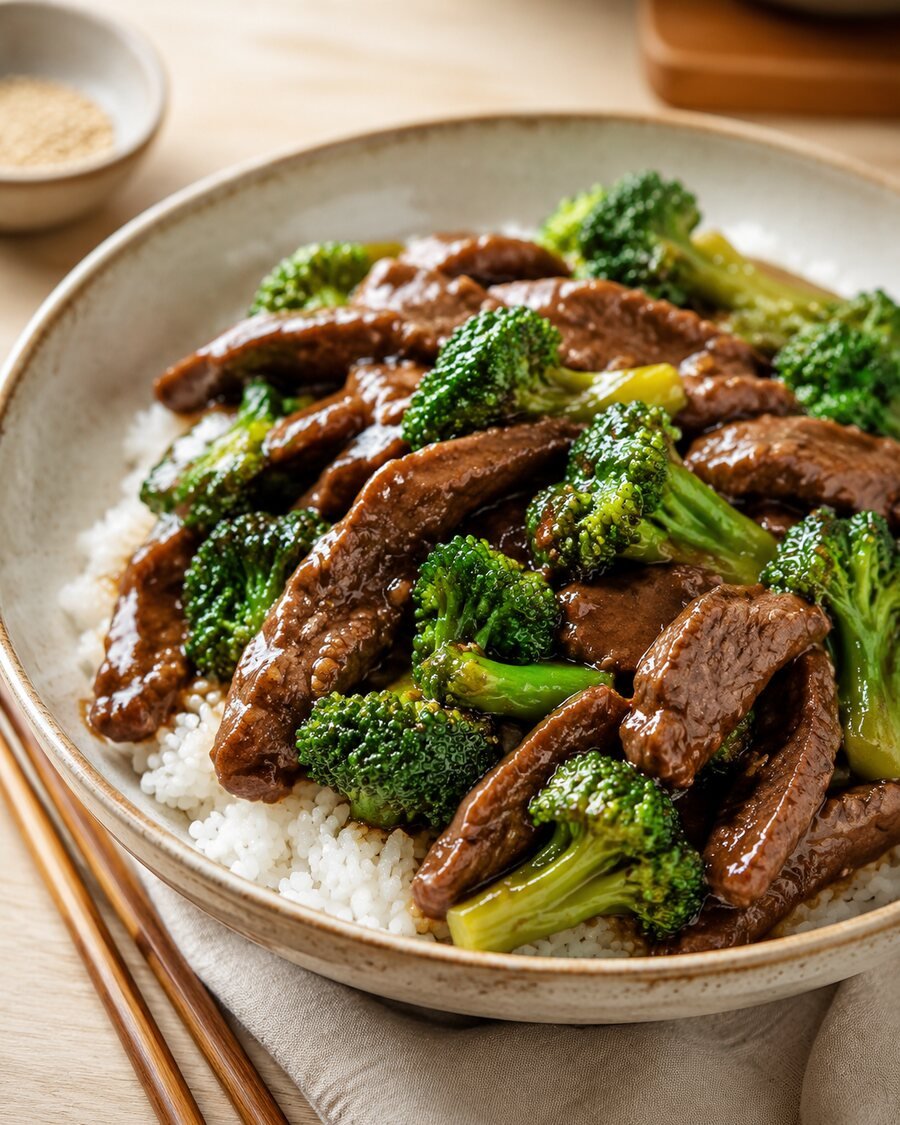
Easy Beef and Broccoli Recipe (Better Than Takeout)
-
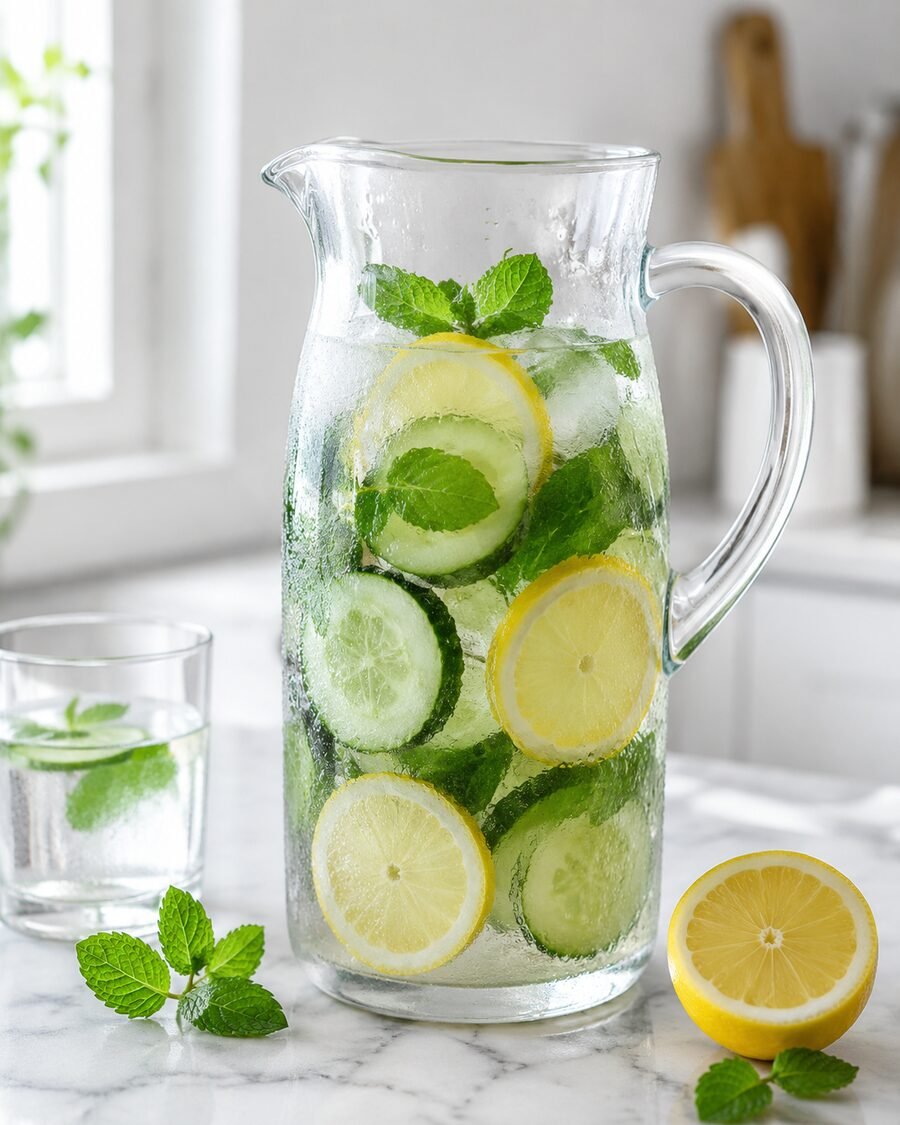
7 Fruit-Infused Water Recipes for Fresh Hydration
Sweet strawberry filling, creamy vanilla cheesecake, and a buttery golden topping come together in this easy Strawberry Cheesecake Dump Cake. It has all the comfort of a warm fruit cobbler and all the richness of cheesecake, but the simple dump-and-bake method keeps prep to about 10 minutes.
This strawberry cream cheese dump cake begins with a glossy fruit layer, followed by spoonfuls of lightly sweetened cheesecake filling. Dry yellow cake mix forms the topping, and melted butter transforms it into crisp golden crumbles as the dessert bakes. There is no cake batter to mix, no crust to press, and no cheesecake water bath to manage.
The finished dessert is intentionally soft and spoonable rather than firm like a traditional layer cake. Serve it warm for a cobbler-style treat, or chill it for cleaner portions and a more pronounced cheesecake texture.
Why You’ll Love This Strawberry Dump Cake
Simple and dependable
- Only six everyday ingredients are required.
- The layers go straight into one baking dish.
- Canned strawberry filling keeps the fruit layer thick and consistent.
- Visual doneness cues make the recipe beginner-friendly.
Made for sharing
- One pan comfortably serves 8–10 people.
- It travels well for potlucks and family gatherings.
- It can be served warm, at room temperature, or chilled.
- Vanilla ice cream or whipped cream makes it instantly celebration-ready.
Ingredients & Equipment
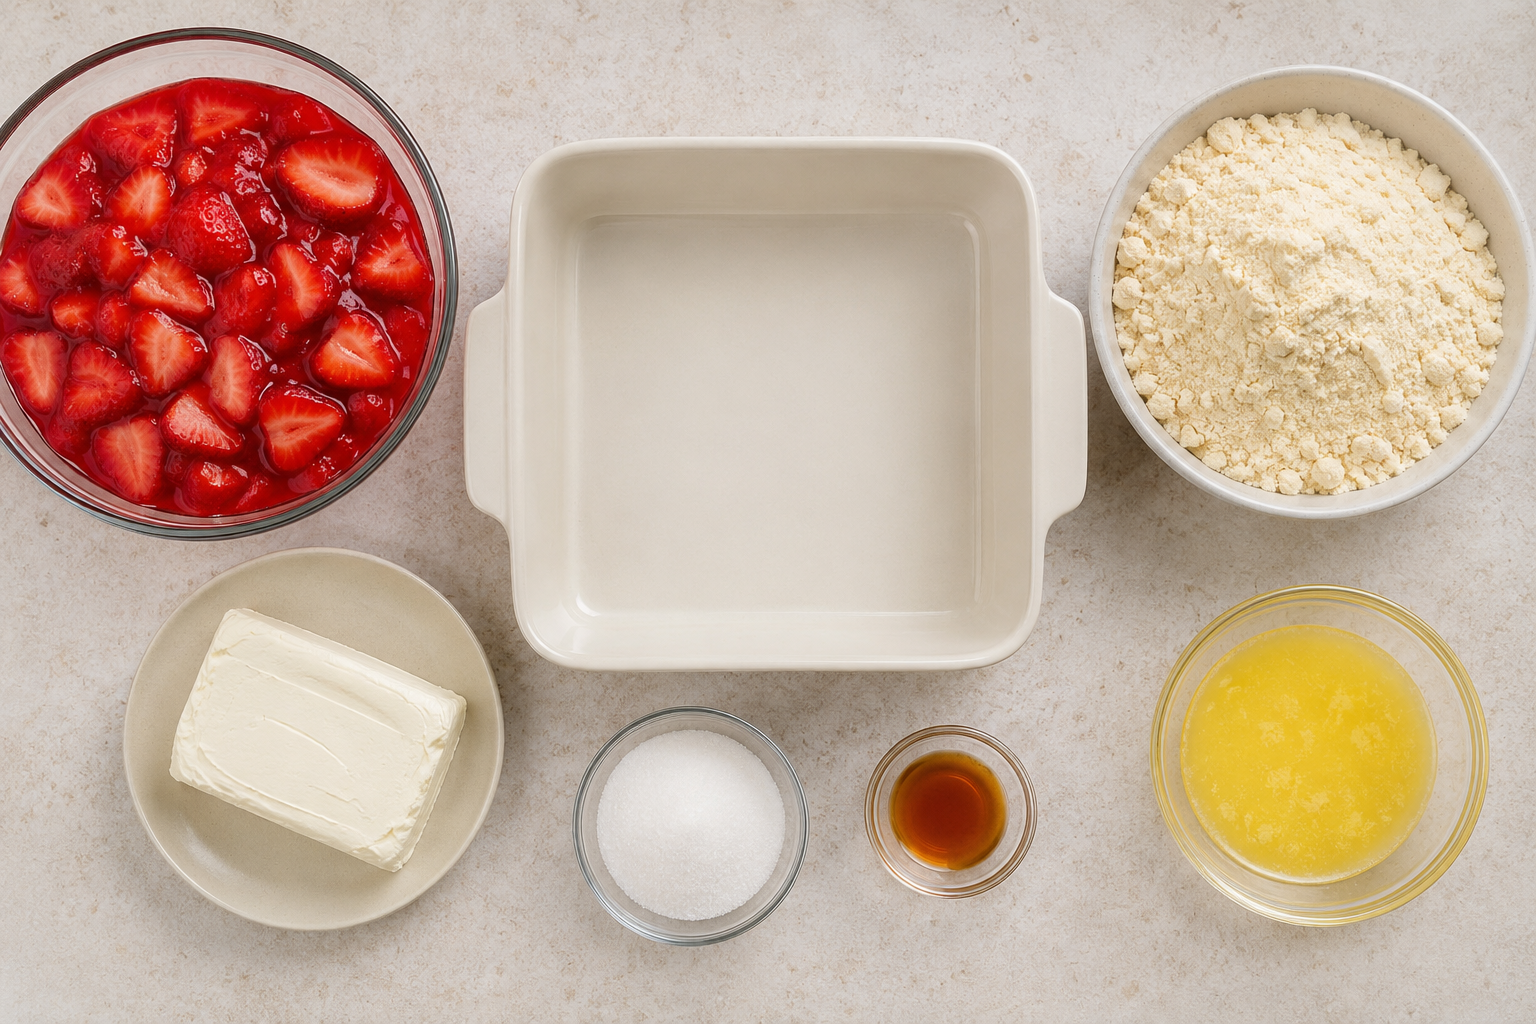
Six ingredients
- 1 can (21 oz / 595 g) strawberry pie filling
- 1 block (8 oz / 226 g) full-fat cream cheese, softened
- ½ cup (100 g) granulated sugar
- 1 tsp vanilla extract
- 1 box (15.25 oz / 432 g) yellow cake mix
- ½ cup (1 stick / 113 g) unsalted butter, melted
Optional for serving
- Fresh sliced strawberries
- Vanilla ice cream
- Lightly sweetened whipped cream
- Powdered sugar
Helpful equipment
- 8-inch square baking dish
- Medium mixing bowl
- Electric hand mixer or sturdy whisk
- Rubber spatula
- Small spoon or cookie scoop
Ingredient notes
- Pie filling: Use strawberry pie filling rather than plain canned strawberries. Its thickened sauce creates the correct texture and protects the bottom of the cake from drying.
- Cream cheese: Full-fat block-style cream cheese produces the richest, most stable cheesecake layer. Let it soften at room temperature until it mixes without lumps.
- Cake mix: Yellow cake mix gives the most classic buttery flavor. White, vanilla, lemon, or chocolate cake mix also works.
- Butter: Drizzle it in very thin streams so it moistens as much of the dry mix as possible. If large dry patches remain during baking, spoon 1–2 tablespoons of additional melted butter over those spots.
How to Make Strawberry Cheesecake Dump Cake
Build the fruit and cheesecake layers
- Heat the oven: Preheat the oven to 350°F (175°C). Lightly grease an 8-inch square baking dish.
- Add the strawberries: Spoon the strawberry pie filling into the dish and spread it into an even layer, reaching all four corners.
- Mix the cheesecake: Beat the softened cream cheese, sugar, and vanilla for 1–2 minutes, until smooth and creamy. Scrape the bowl once so no lumps remain.
- Add the cheesecake layer: Drop small spoonfuls of the cream cheese mixture evenly over the strawberry filling. For a marbled look, drag a butter knife through the top two or three times; do not fully blend the layers.
Add the topping and bake
- Sprinkle the cake mix: Scatter the dry cake mix evenly over the entire surface. Break up large clumps with your fingers, but do not stir it into the fruit.
- Drizzle the butter: Pour the melted butter slowly back and forth over the cake mix in thin, overlapping lines. Try to cover as much powder as possible.
- Bake: Bake uncovered for 45–50 minutes, until the fruit bubbles around the edges and the topping is deeply golden with no large floury patches.
- Rest before serving: Cool for at least 20 minutes. The filling thickens as it rests, and the cheesecake layer will be very hot straight from the oven.
Keep the “dump” in dump cake: Do not stir after adding the dry cake mix. Distinct layers are what create the jammy fruit base, creamy cheesecake pockets, and crisp buttery topping.
How to Know When Your Dump Cake Is Done
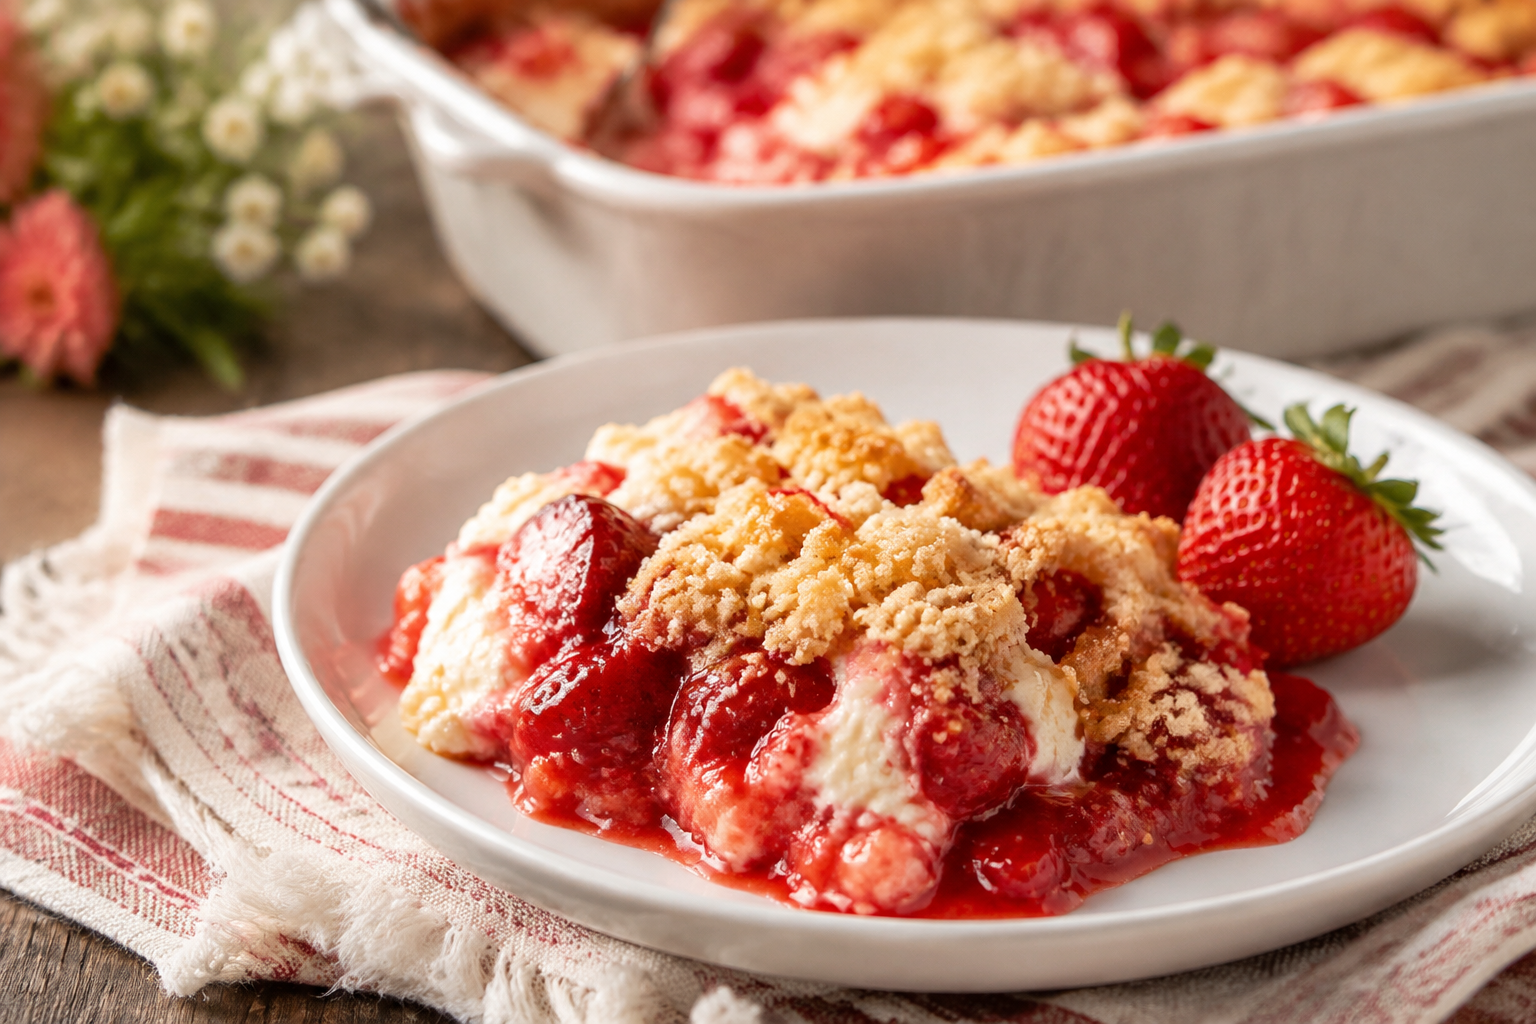
What you should see
- The strawberry filling is actively bubbling along several edges.
- The topping is golden brown, especially around the perimeter.
- Most of the dry cake mix has absorbed butter or fruit juices.
What to expect after baking
- The center will be soft and spoonable while hot.
- The fruit layer thickens during the 20-minute rest.
- Chilled leftovers become firmer but remain more cobbler-like than sliceable cake.
If the topping is browning before the fruit is bubbling, lay a loose sheet of foil over the dish for the final 10 minutes. If you notice a few dry patches, add a small spoonful of melted butter to each and return the cake to the oven.
Tips for the Best Strawberry Cheesecake Dump Cake
For creamy cheesecake pockets
- Soften the cream cheese fully before mixing.
- Beat the cream cheese first if it still feels firm, then add sugar and vanilla.
- Use small, evenly spaced dollops so every serving gets some cheesecake.
- Swirl only lightly; overmixing makes the layers muddy.
For an evenly golden topping
- Level the dry mix before adding butter.
- Use a spoon or measuring cup with a spout for a controlled drizzle.
- Cover the edges and corners instead of pouring all the butter in the center.
- Let the cake bake until the fruit bubbles; those juices help hydrate the underside of the topping.
Flavor Variations & Serving Ideas
Easy flavor twists
- Fresh strawberry boost: Fold 1 cup sliced fresh strawberries into the pie filling before spreading it in the dish.
- Strawberry lemon: Use lemon cake mix and add ½ teaspoon finely grated lemon zest to the cheesecake mixture.
- Chocolate strawberry: Replace the yellow cake mix with chocolate cake mix and finish with chocolate curls.
- Mixed berry: Use mixed-berry pie filling and scatter a handful of fresh blueberries over the fruit layer.
- Crunchy topping: Sprinkle ½ cup chopped pecans or sliced almonds over the cake mix before adding butter.
Ways to serve it
- Serve warm with vanilla ice cream for a classic potluck dessert.
- Add whipped cream and fresh berries for a lighter summer finish.
- Chill completely and spoon into small glasses for individual party portions.
- Dust with powdered sugar just before serving for a simple celebration look.
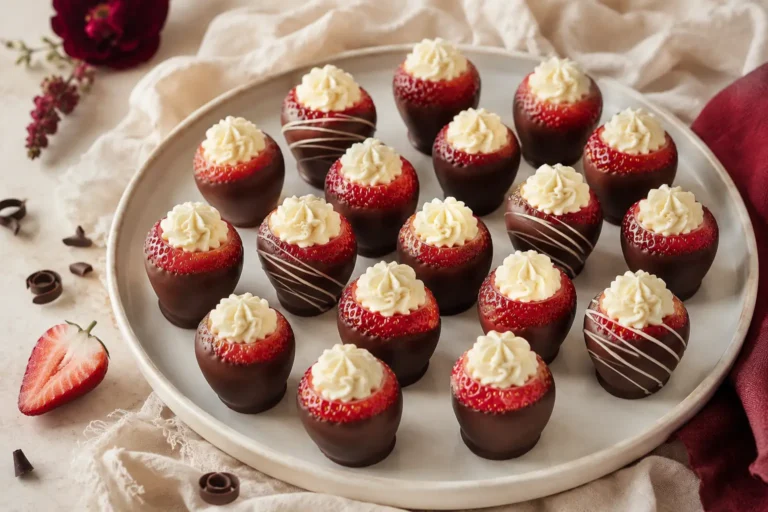
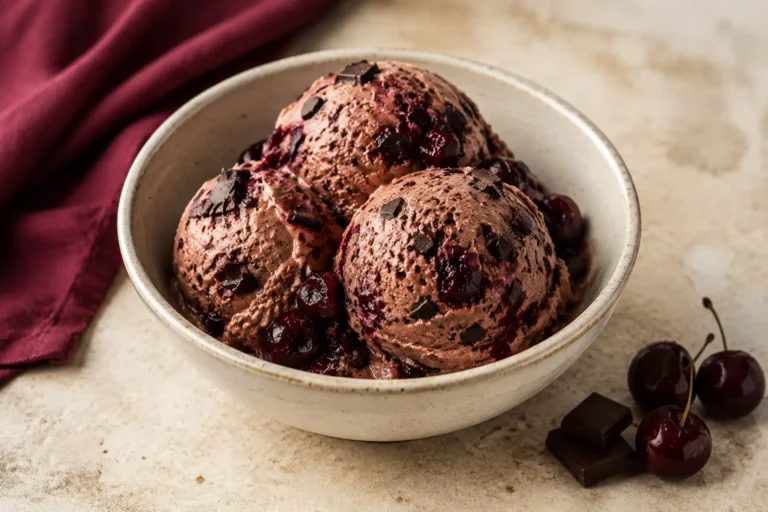
For another strawberry-and-cheesecake favorite, try our Chocolate Covered Strawberries with Cheesecake Filling. When you want a cold summer dessert, the Cherry Chocolate Gelato is a refreshing option.
Make-Ahead, Storage & Reheating
For the best topping, assemble the fruit and cheesecake layers ahead, but wait to add the cake mix and butter until just before baking. Cover the partially assembled dish and refrigerate for up to 24 hours. When ready to bake, add the topping and allow a few extra minutes because the filling is cold.
Cool leftovers, cover the dish, and refrigerate within two hours. The cake keeps well for 3–4 days. Serve it chilled, let it stand briefly at room temperature, or warm individual portions in the microwave for 15–25 seconds. To reheat several servings, cover loosely with foil and warm at 300°F (150°C) for 10–15 minutes.
Freezing is possible for up to one month in an airtight container, although the topping becomes softer after thawing. Defrost overnight in the refrigerator. Because this dessert contains cream cheese, follow the cold-storage guidance in FoodSafety.gov’s four steps to food safety.
Frequently Asked Questions
Can I make strawberry cheesecake dump cake ahead of time?
Yes. Assemble the strawberry and cheesecake layers, cover, and refrigerate for up to 24 hours. Add the dry cake mix and melted butter immediately before baking so the topping stays crisp.
Can I use fresh or frozen strawberries instead of pie filling?
Plain berries do not contain enough thickened sauce for this exact dump-cake method. The easiest option is to keep the canned filling and add 1 cup of sliced fresh or thawed, well-drained strawberries for extra fruit flavor.
Why does my dump cake have dry powder on top?
The cake mix may have been piled too thickly or the butter may not have reached that area. Level the mix carefully and drizzle the butter in thin overlapping passes. Spoon a little extra melted butter over stubborn dry patches during baking.
Can I use a different flavor of cake mix?
Absolutely. White and vanilla cake mixes keep the flavor classic, lemon adds a bright contrast, and chocolate creates a chocolate-covered-strawberry effect.
Should strawberry cheesecake dump cake be refrigerated?
Yes. Because it contains cream cheese, refrigerate leftovers in a covered container. Do not leave the dessert at room temperature for more than two hours.
Can I bake this in a 9-inch square pan?
Yes. A 9-inch square dish works well, although the layers will be slightly thinner and may finish a few minutes sooner. Begin checking for bubbling fruit and a golden top around the 40-minute mark.
Is dump cake supposed to be gooey?
It should be moist, jammy, and spoonable—not raw or watery. The fruit should bubble during baking, the topping should turn golden, and the filling should thicken after a 20-minute rest.
Save This Easy Strawberry Cheesecake Dump Cake
Keep this six-ingredient recipe ready for busy days, family dinners, summer parties, holiday tables, and last-minute dessert cravings.
Jump to the ingredientsMore Easy Recipes and Food-Safety Guidance
Continue planning simple homemade meals with these Recipe Haven collections:
For safe minimum cooking temperatures and resting times, consult the USDA safe temperature chart.
One Comment