Cherry Chocolate Gelato: Easy Homemade Summer Treat
-
10 Healthy Wrap Recipes for Easy Lunches
-
6 Healthy Sandwich Recipes for Easy Lunches
-
12 Simple School Lunches Kids Will Love
-
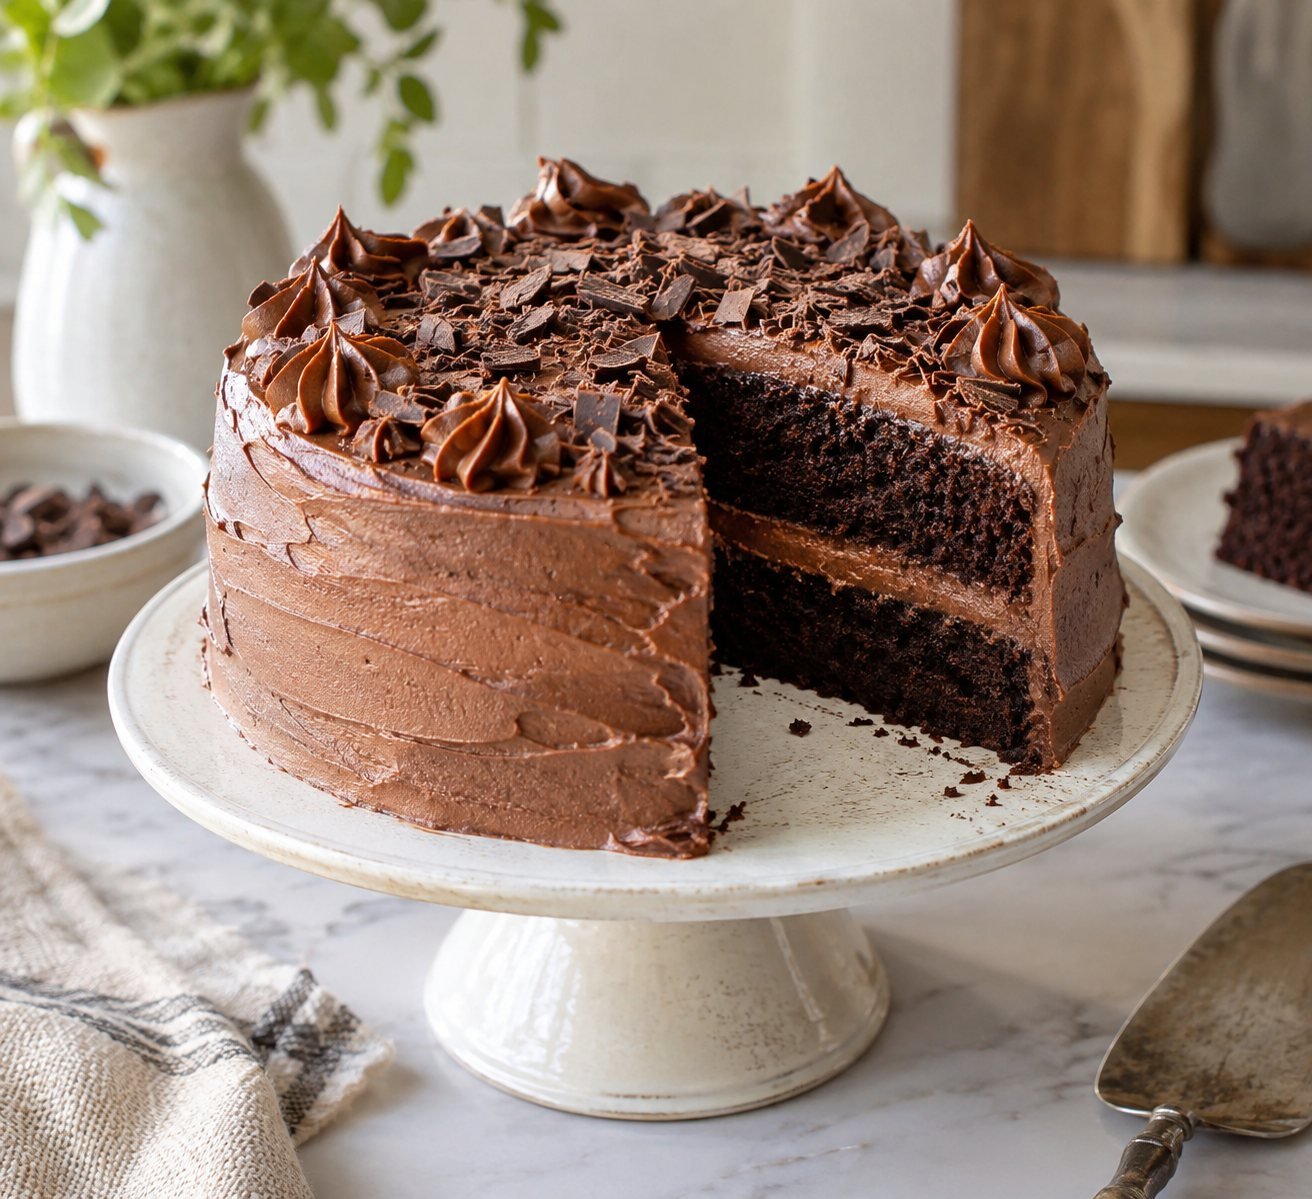
8 Homemade Chocolate Cake Recipes for Every Occasion
-
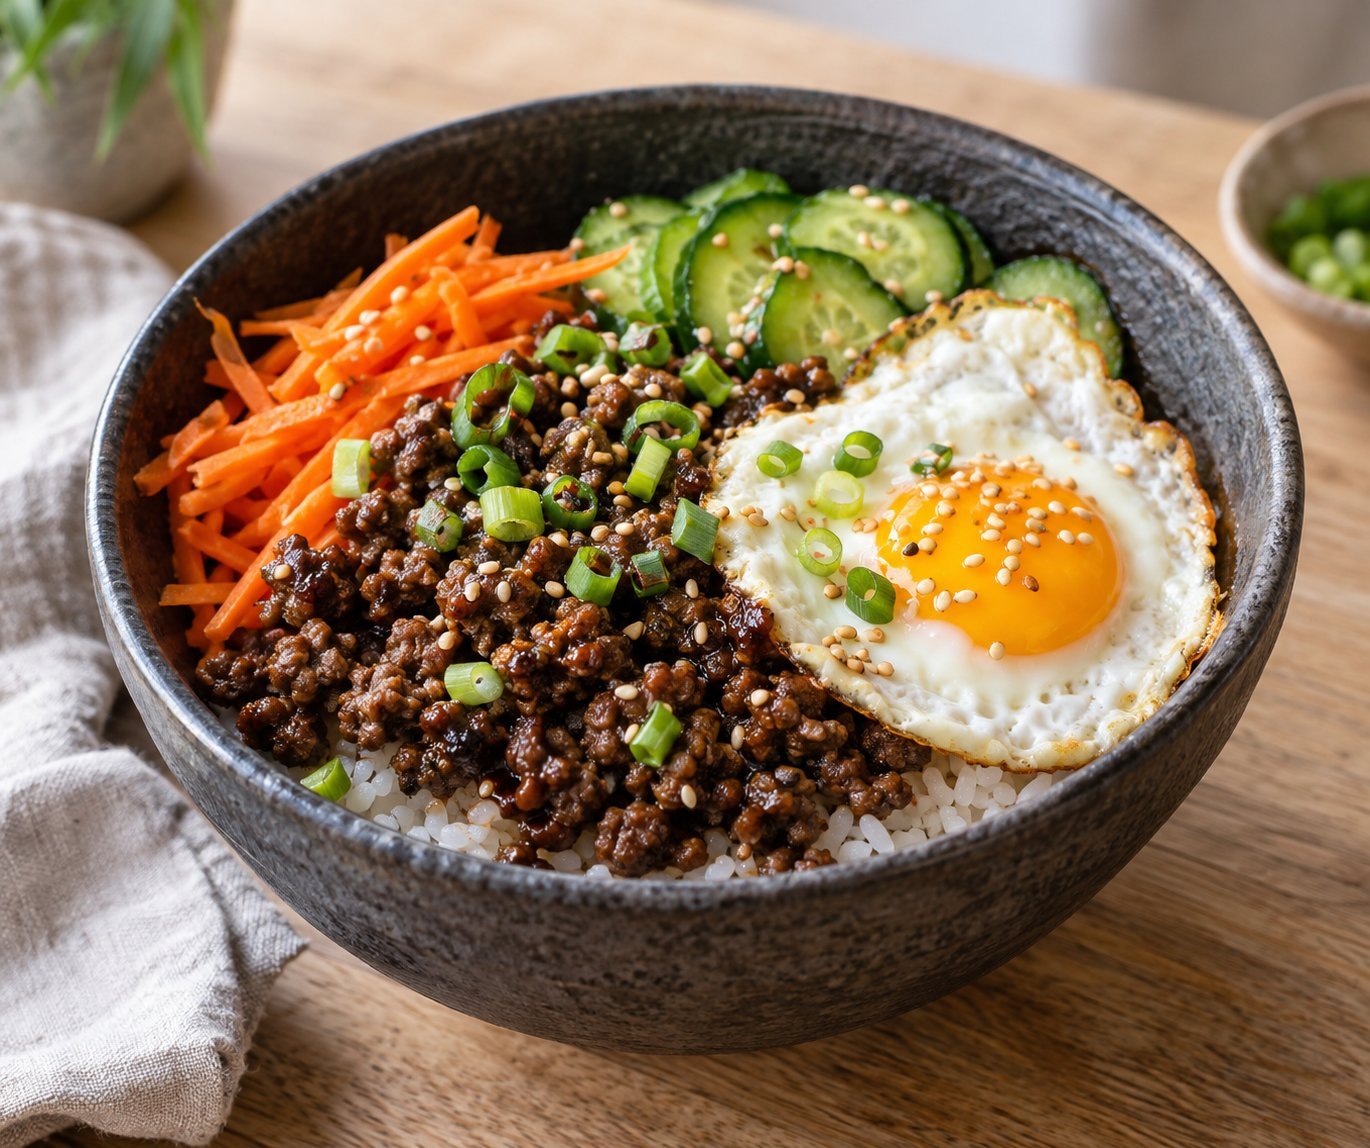
6 Easy Korean Ground Beef Bowl Recipes for Busy Nights
-

8 Refreshing Mocktails to Sip All Summer Long
-
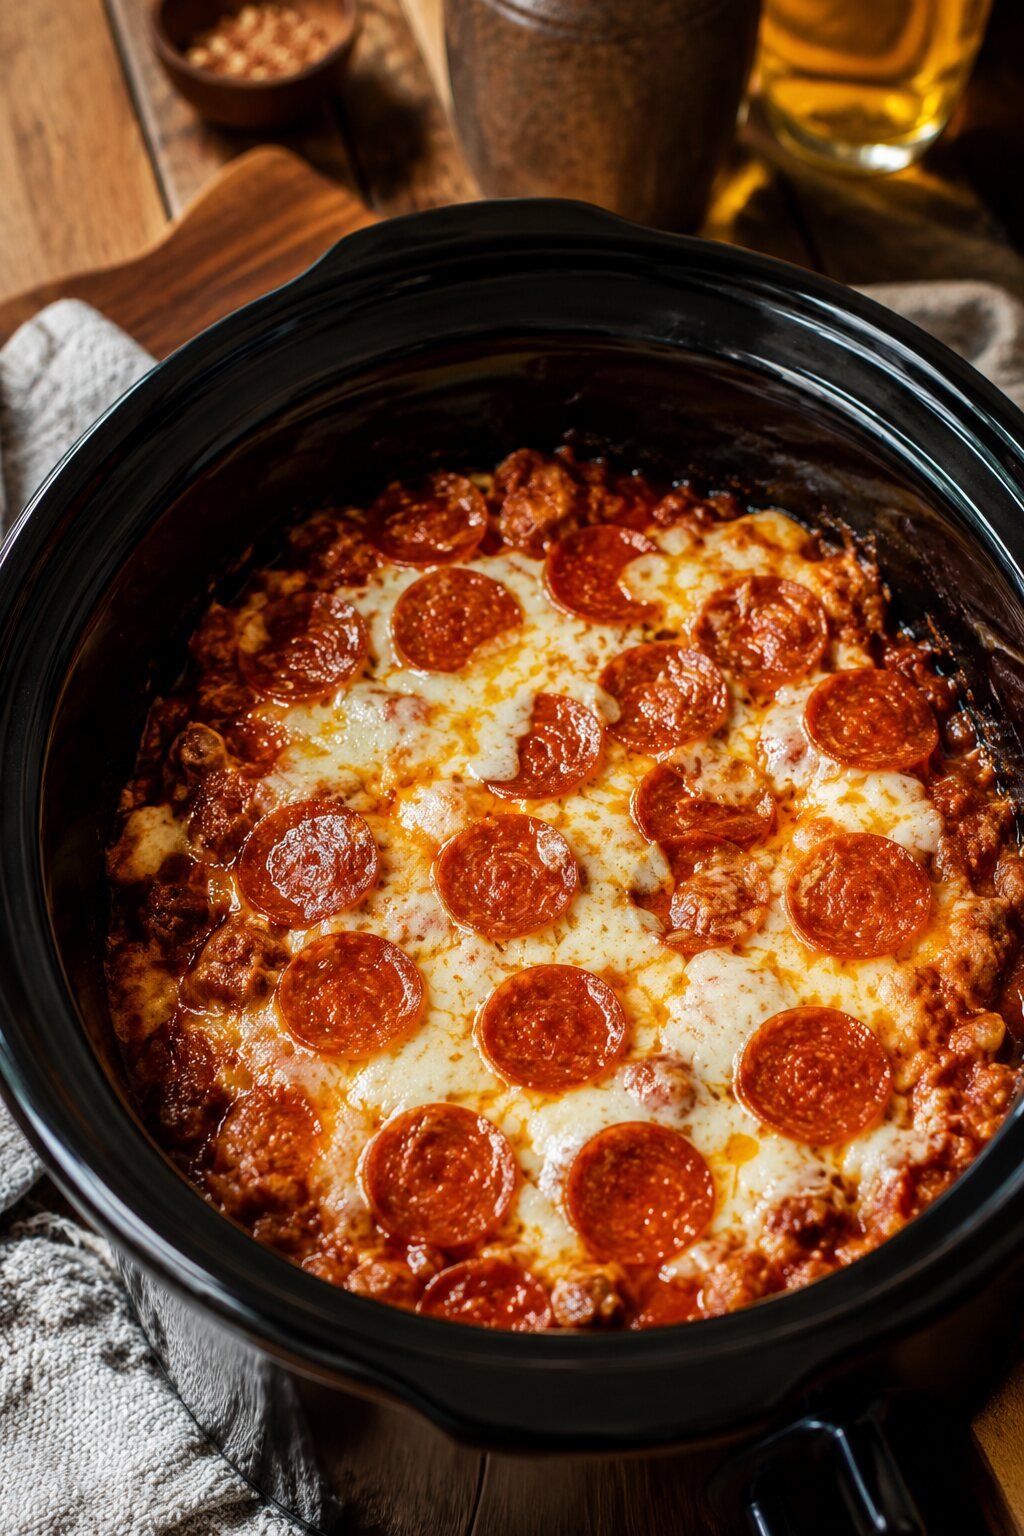
10 Dirt Cheap Crockpot Dinners for Easy Family Meals
-
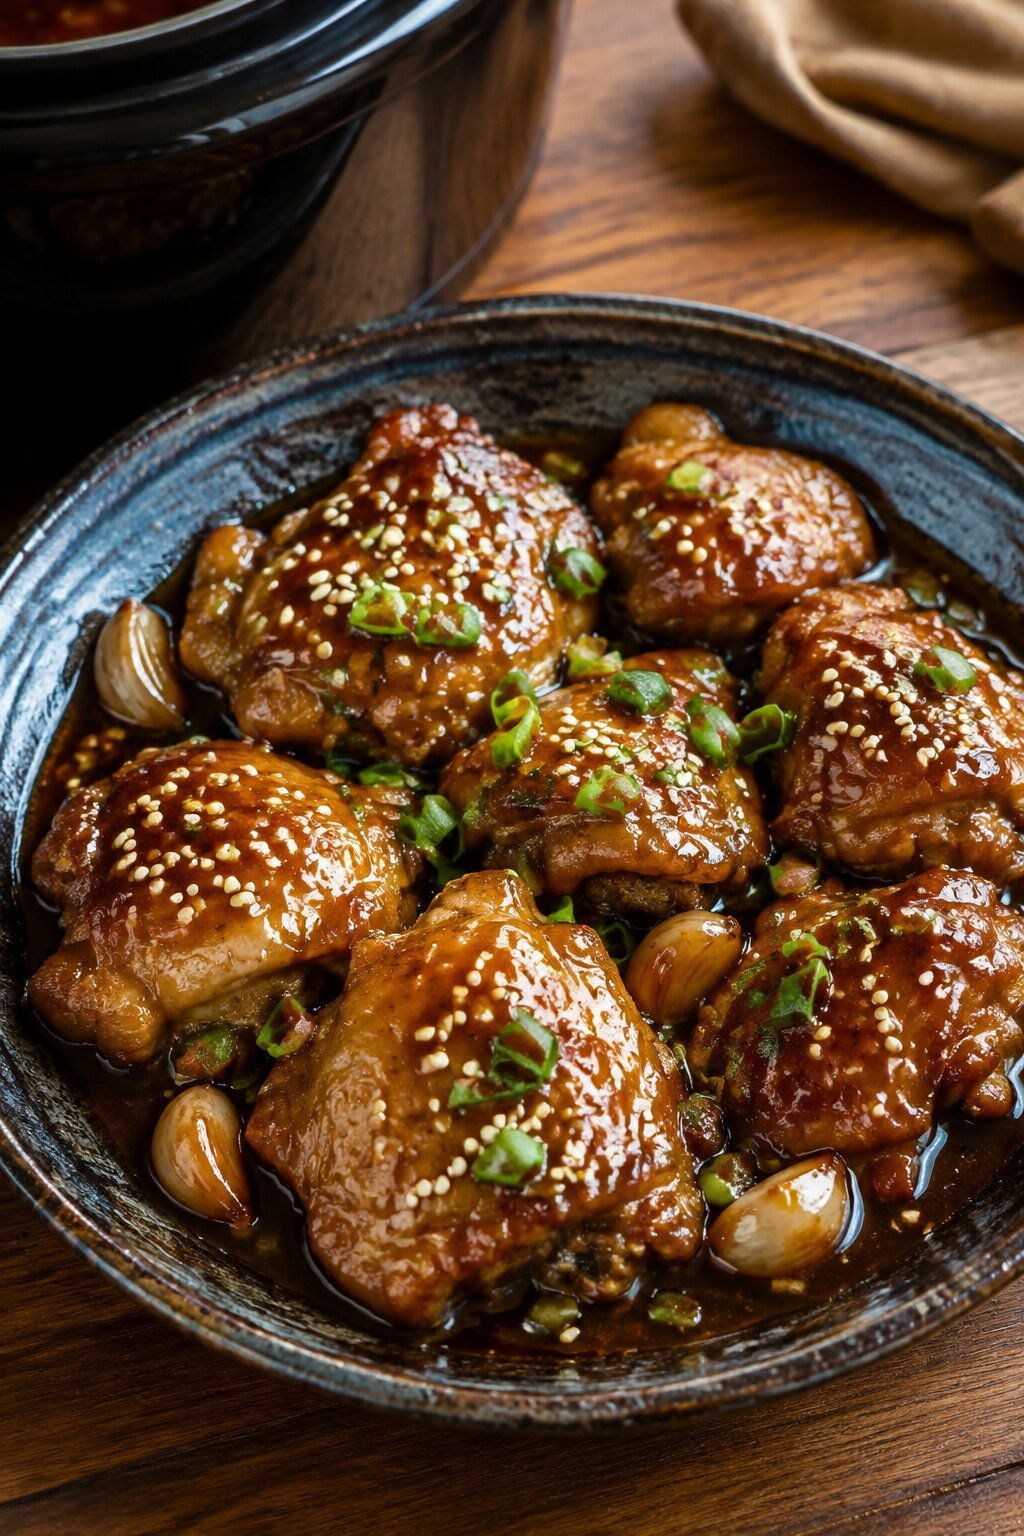
10 Dump and Go Crockpot Dinners for Busy Nights
-
The Best Breakfast Taquitos: 6 Crispy, Cheesy Recipes
-

6 Crispy Breakfast Taquitos Recipes for Easy Mornings
-
Easy Beef and Broccoli Recipe (Better Than Takeout)
-
7 Fruit-Infused Water Recipes for Fresh Hydration
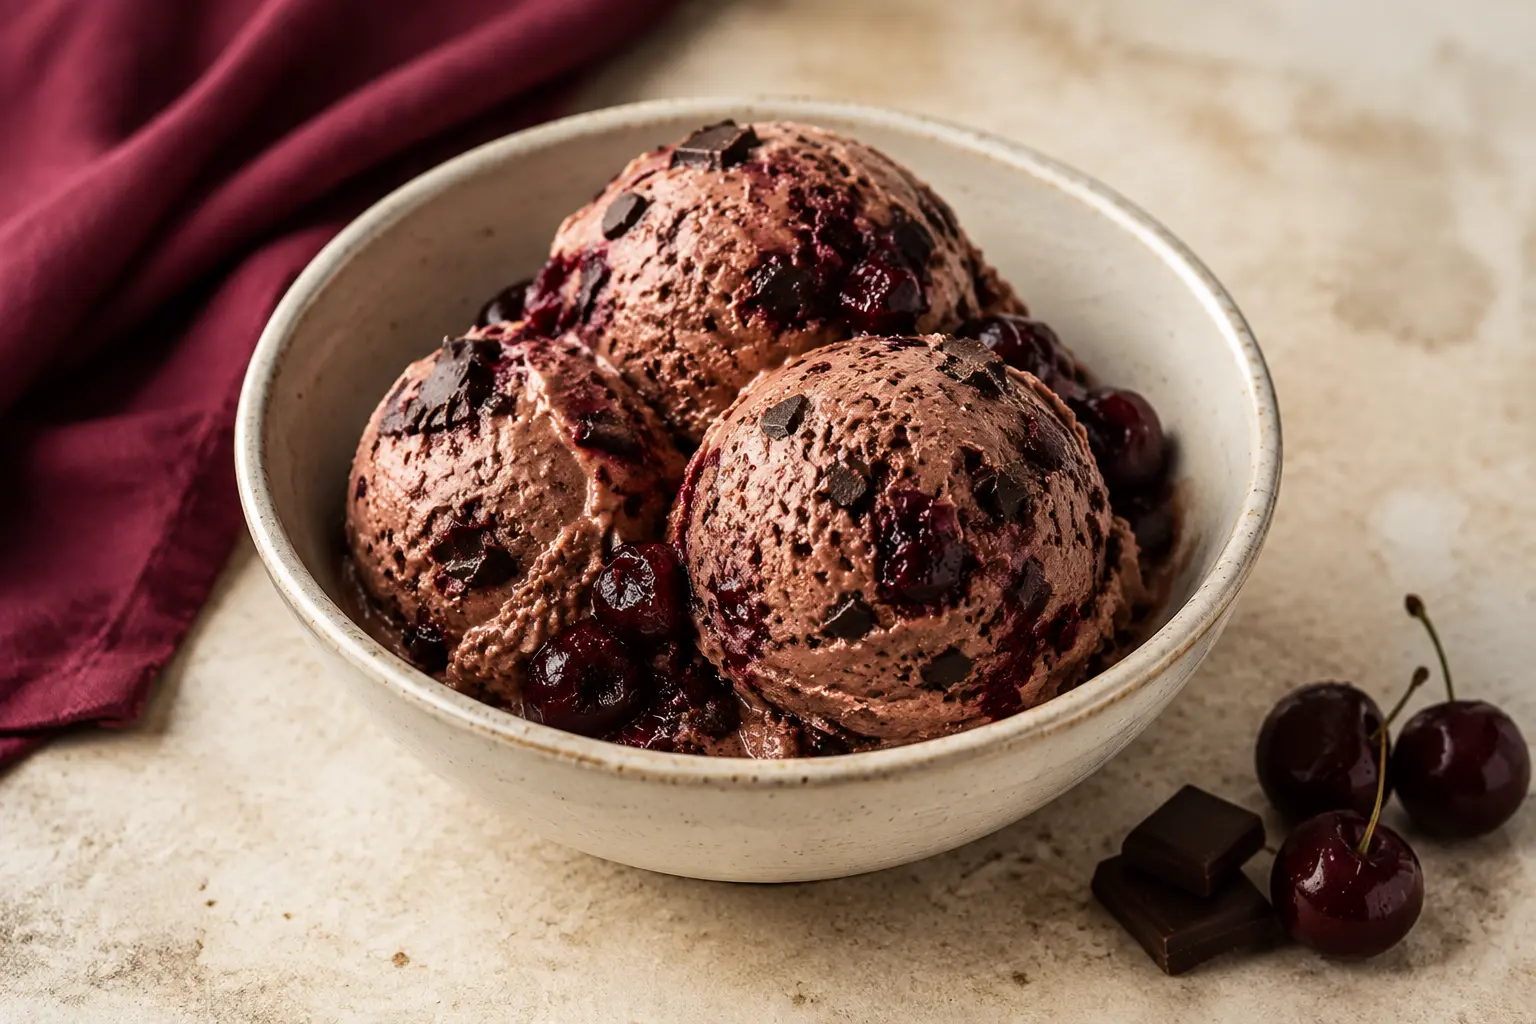
Sweet dark cherries, silky chocolate custard, and delicate chocolate pieces come together in this homemade Cherry Chocolate Ice Cream Style Gelato. It is rich enough for a dinner-party dessert, refreshing enough for a hot afternoon, and much easier to make than its elegant scoops suggest.
This recipe starts with a cooked cherry ripple so the fruit tastes concentrated instead of watery. The chocolate base uses more milk than cream for a lighter, gelato-style body, while egg yolks give it a luxuriously smooth finish. After churning, the cold cherry mixture and chopped dark chocolate are layered through the soft gelato for ribbons of fruit and little bursts of bittersweet crunch.
Plan to make the custard at least four hours ahead—or chill it overnight. Once the base is completely cold, the final steps move quickly: churn, swirl, freeze until scoopable, and serve.
Why You’ll Love This Cherry Chocolate Gelato
Big flavor, simple ingredients
- Real cherries create a bright, naturally fruity ripple.
- Dark chocolate balances the sweetness and adds depth.
- A cooked custard base delivers a smooth, creamy texture.
- Fresh or frozen cherries both work beautifully.
Made for summer entertaining
- Prepare the base a day ahead and churn before serving.
- Serve it in bowls, cones, or alongside warm brownies.
- The ruby cherry swirls make every scoop look special.
- No-machine instructions make the recipe accessible.
Ingredients & Equipment
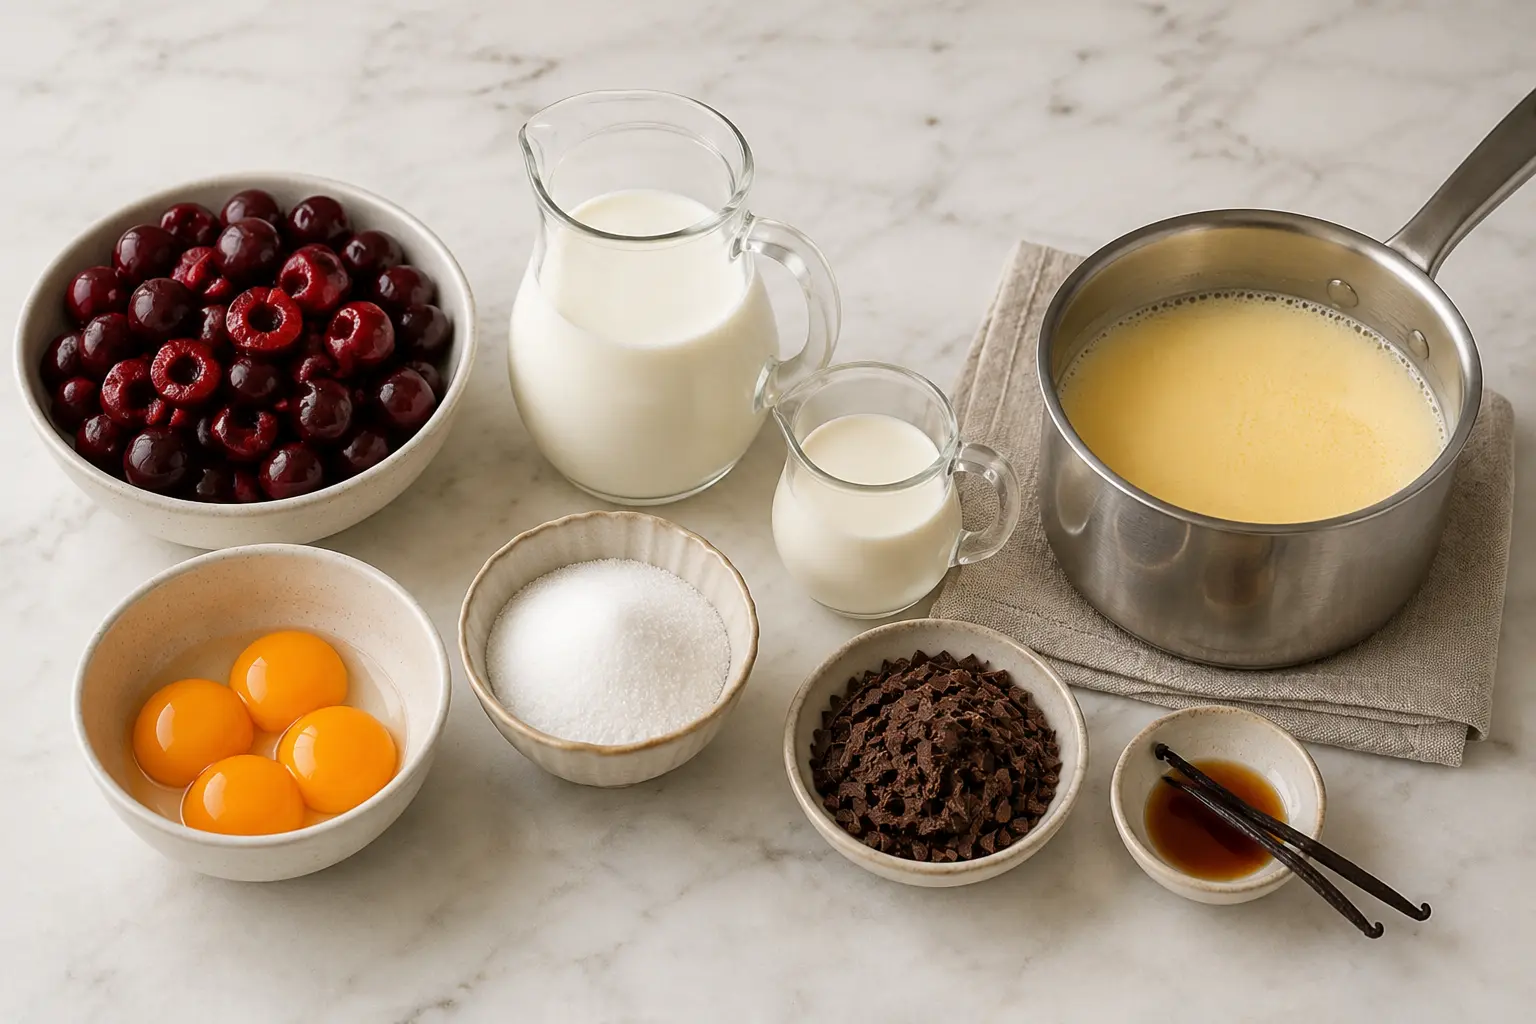
For the cherry ripple
- 2 cups (300 g) pitted dark sweet cherries, fresh or frozen
- 3 tbsp (38 g) granulated sugar
- 1 tbsp fresh lemon juice
For the chocolate gelato base
- 2 cups (480 ml) whole milk
- ¾ cup (180 ml) heavy cream
- 4 large egg yolks
- ½ cup (100 g) granulated sugar
- 2 tbsp unsweetened cocoa powder, sifted
- 4 oz (115 g) dark chocolate, 60–70% cacao, finely chopped
- 1 tsp vanilla extract
- ¼ tsp fine salt
For the chocolate pieces
- ½ cup (55 g) finely chopped dark chocolate
Helpful equipment
- Medium saucepan and small saucepan
- Whisk and heatproof spatula
- Instant-read thermometer
- Fine-mesh strainer
- Ice cream maker, or shallow metal pan
- Freezer-safe container with lid
Ingredient notes
- Cherries: Dark sweet varieties give the deepest flavor and color. If using frozen cherries, thaw them first and include their juices in the saucepan.
- Chocolate: A 60–70% cacao bar adds intensity without making the gelato bitter. Chop it finely so it melts evenly.
- Milk and cream: Whole milk is important for body. The higher milk-to-cream ratio keeps the dessert closer to gelato than traditional American ice cream.
- Egg yolks: They stabilize the base and create a velvety texture. Pasteurized eggs are a good option if available.
How to Make Cherry Chocolate Gelato
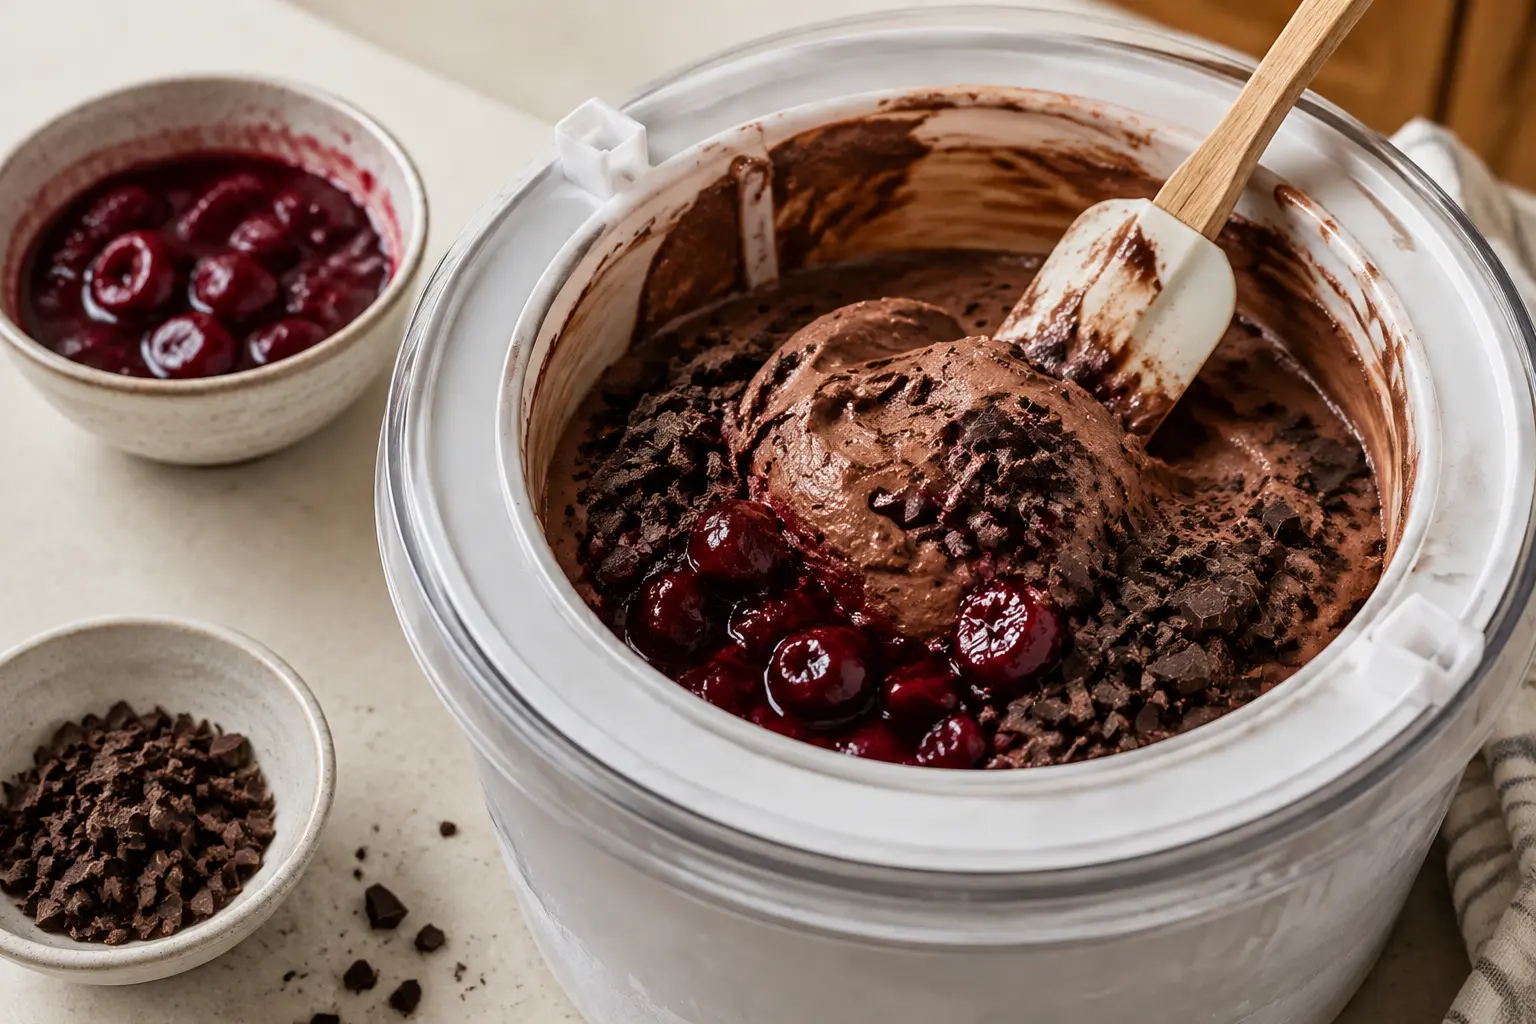
Cook the fruit and custard
- Make the cherry ripple: Add the cherries, 3 tablespoons sugar, and lemon juice to a small saucepan. Cook over medium heat for 8–10 minutes, stirring often, until the fruit is glossy and the liquid is syrupy. Lightly crush about half the cherries. Transfer to a bowl and cool completely.
- Warm the dairy: Combine the whole milk and cream in a medium saucepan. Heat over medium-low until steaming and tiny bubbles appear around the edge. Do not let it boil.
- Whisk the yolks: In a heatproof bowl, whisk the egg yolks, ½ cup sugar, and sifted cocoa until smooth and slightly thickened.
- Temper carefully: While whisking constantly, slowly pour about 1 cup of the hot milk mixture into the yolks. Pour the warmed yolk mixture back into the saucepan.
- Cook the custard: Stir constantly over low heat until it coats the back of a spoon and reaches 170–175°F (77–79°C). Never allow it to boil.
Chill, churn, and freeze
- Add the chocolate: Place the 4 ounces of finely chopped chocolate in a clean bowl. Strain the hot custard over it, wait 1 minute, then whisk until glossy. Stir in vanilla and salt.
- Chill thoroughly: Set the bowl over an ice bath and stir until cool. Cover the surface and refrigerate for at least 4 hours or overnight.
- Churn: Churn the cold base according to your ice cream maker’s instructions, usually 20–25 minutes, until it resembles thick soft serve.
- Layer the mix-ins: Spoon one-third of the gelato into a freezer container. Add small spoonfuls of cold cherry ripple and a sprinkle of chopped chocolate. Repeat the layers, then make two or three gentle swirls with a knife.
- Firm and serve: Cover and freeze for 2–4 hours. Let the container stand at room temperature for 5–10 minutes before scooping.
Food-safety note: The custard will thicken above 160°F; continue gently to 170–175°F for the best texture. USDA guidance says cooked egg-and-milk mixtures used for homemade ice cream are safe once they reach 160°F. See Shell Eggs from Farm to Table.
How to Make It Without an Ice Cream Maker
- Prepare and chill the chocolate custard exactly as written.
- Pour it into a shallow metal pan and freeze for 45 minutes.
- Whisk vigorously, scraping the frozen edges into the center. For an even smoother result, briefly blend with an immersion blender.
- Return to the freezer and repeat every 30 minutes for 2–2½ hours, or until thick and creamy.
- After the final whisk, layer in the cold cherry ripple and chopped chocolate. Cover and freeze for another 2 hours.
The no-machine version will be slightly firmer and less dense than churned gelato, but regular whisking keeps the ice crystals small and gives it a satisfyingly creamy texture.
Tips for Creamy, Scoopable Gelato
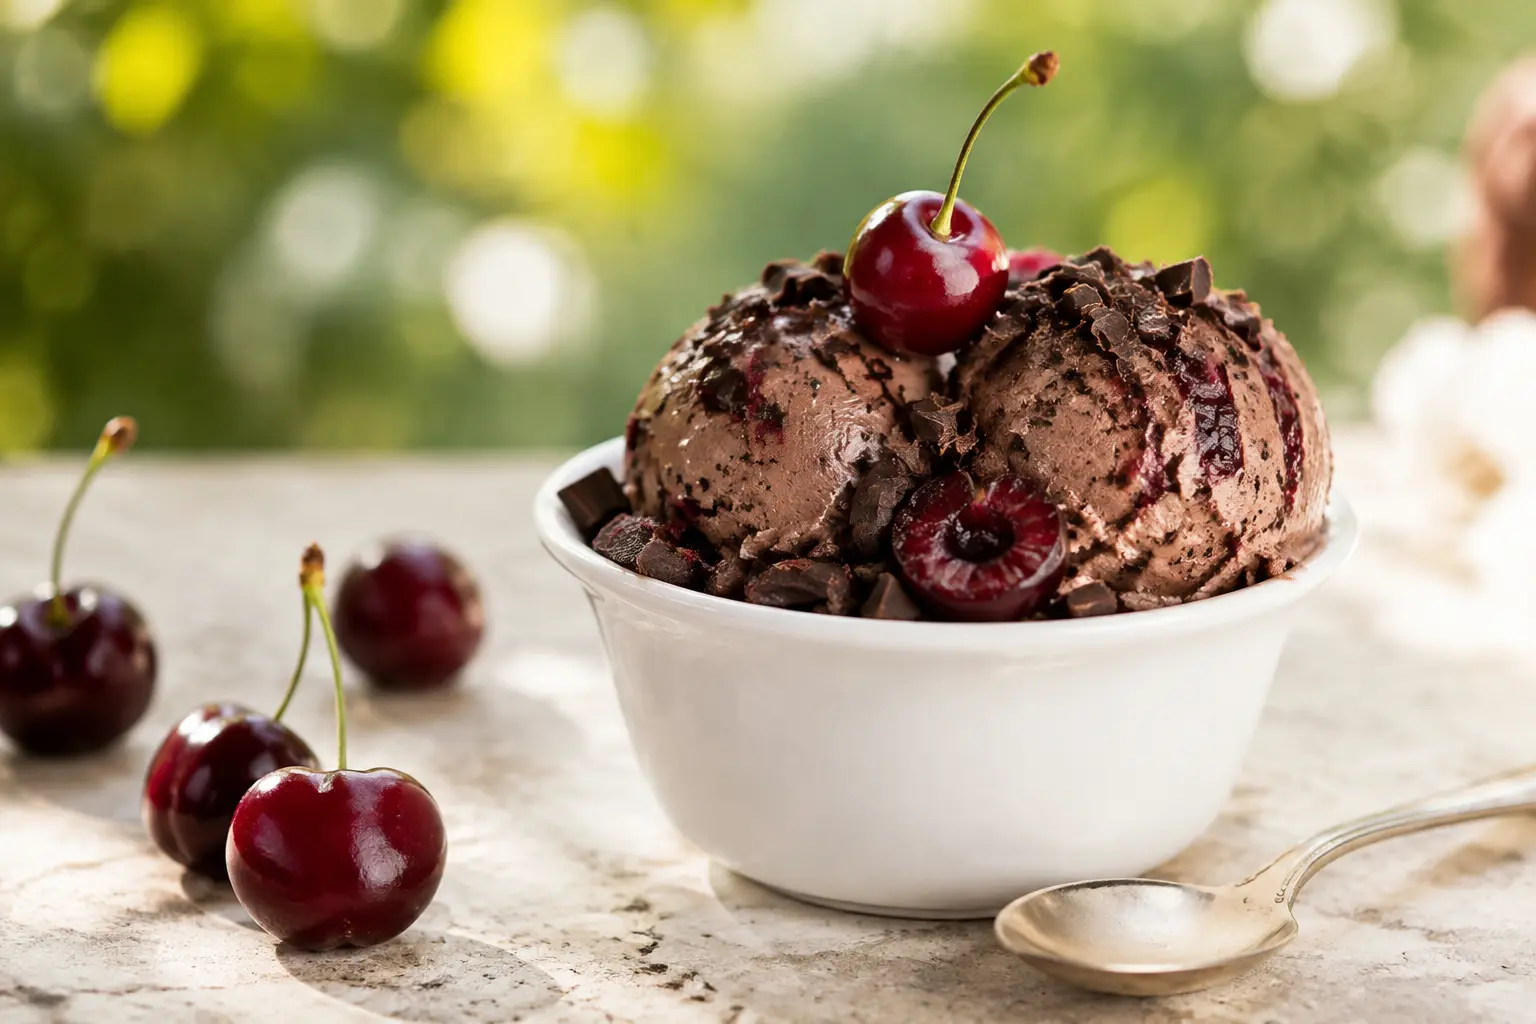
Prevent an icy texture
- Cook the cherries into a thick ripple instead of folding in watery raw fruit.
- Cool both the custard and cherry mixture completely before churning.
- Freeze the ice cream maker bowl for the full time recommended by its manufacturer.
- Transfer the gelato to the freezer as soon as it reaches soft-serve consistency.
Build the best flavor
- Use ripe summer cherries or high-quality frozen dark cherries.
- Choose dark chocolate you enjoy eating on its own.
- Keep the cherry ripple in loose ribbons rather than mixing it in completely.
- Chop the chocolate finely so the frozen pieces remain pleasant to bite.
Flavor Variations & Serving Ideas
Easy flavor twists
- Cherry almond: Add ¼ teaspoon almond extract with the vanilla.
- Mocha cherry: Dissolve 1 teaspoon instant espresso powder in the warm dairy.
- Stracciatella: Skip the chopped chocolate and drizzle 2 ounces of melted dark chocolate into the machine during the final minute of churning.
- Black forest: Add crushed chocolate wafers between the cherry layers.
Ways to serve it
- Scoop into chilled bowls and finish with fresh cherries.
- Pair with warm brownies or flourless chocolate cake.
- Serve in waffle cones with a few chocolate curls.
- Build a summer dessert board with fruit, cookies, and mini scoops.
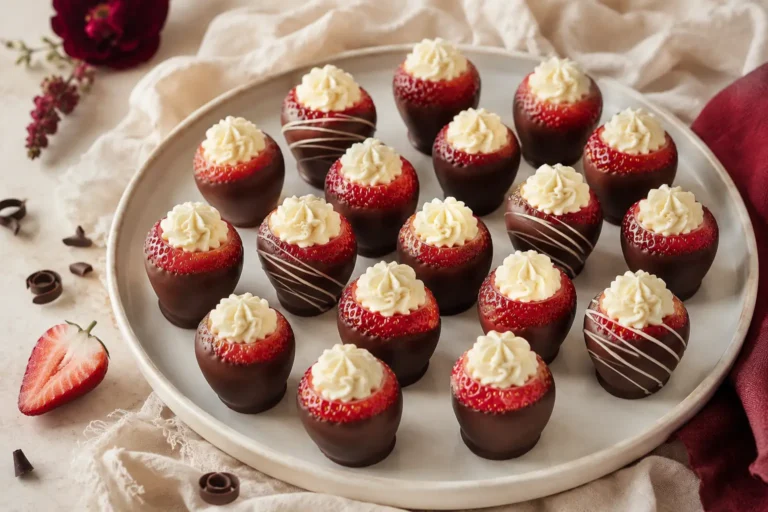
If you love the combination of fruit and chocolate, try our Chocolate Covered Strawberries with Cheesecake Filling next.
Make-Ahead, Storage & Serving
The custard and cherry ripple can both be prepared one day ahead. Refrigerate them separately in covered containers, then churn only when both are thoroughly cold. If your machine uses a freezer bowl, freeze that bowl for at least 24 hours or according to the manufacturer’s directions.
Store finished gelato in a shallow, airtight freezer container. Press a piece of parchment directly against the surface before adding the lid to reduce ice crystals. The flavor and texture are best within 1–2 weeks.
Home freezers are colder than a traditional gelato display case, so the dessert will firm considerably. Let it soften at room temperature for 5–10 minutes before scooping, but return leftovers to the freezer promptly.
Frequently Asked Questions
Can I use frozen cherries?
Yes. Thaw them first and add both the fruit and collected juices to the saucepan. Cook until the mixture is thick and syrupy, then cool it completely.
Why did my gelato turn icy?
The most common causes are a base that was not fully chilled, a cherry mixture that was too watery, or slow freezing. Cook the fruit until syrupy, chill every component thoroughly, and freeze the churned gelato immediately.
Why is homemade gelato so hard straight from the freezer?
A home freezer is usually much colder than a gelato serving case. Let the container sit for 5–10 minutes, then use a scoop warmed briefly under hot water.
Can I make this recipe egg-free?
Yes. Omit the yolks and whisk 2 tablespoons cornstarch with ¼ cup of the cold milk. Add the slurry to the warm dairy and cook, whisking, until gently thickened before pouring it over the chocolate.
What makes this gelato-style instead of regular ice cream?
The base uses more milk than cream and is churned to a dense, smooth texture. A home machine adds a little more air than traditional gelato equipment, so “gelato-style” is the most accurate description.
Can I make it without an ice cream maker?
Absolutely. Freeze the chilled custard in a shallow pan and whisk it thoroughly every 30 minutes. The texture will be a little firmer, but the chocolate-cherry flavor remains delicious.
Save This Cherry Chocolate Gelato Recipe
Keep it ready for hot afternoons, family gatherings, dinner parties, or any day that deserves a refreshing homemade dessert.
Jump to the ingredientsMore Easy Recipes and Food-Safety Guidance
Continue planning simple homemade meals with these Recipe Haven collections:
For safe minimum cooking temperatures and resting times, consult the USDA safe temperature chart.
2 Comments