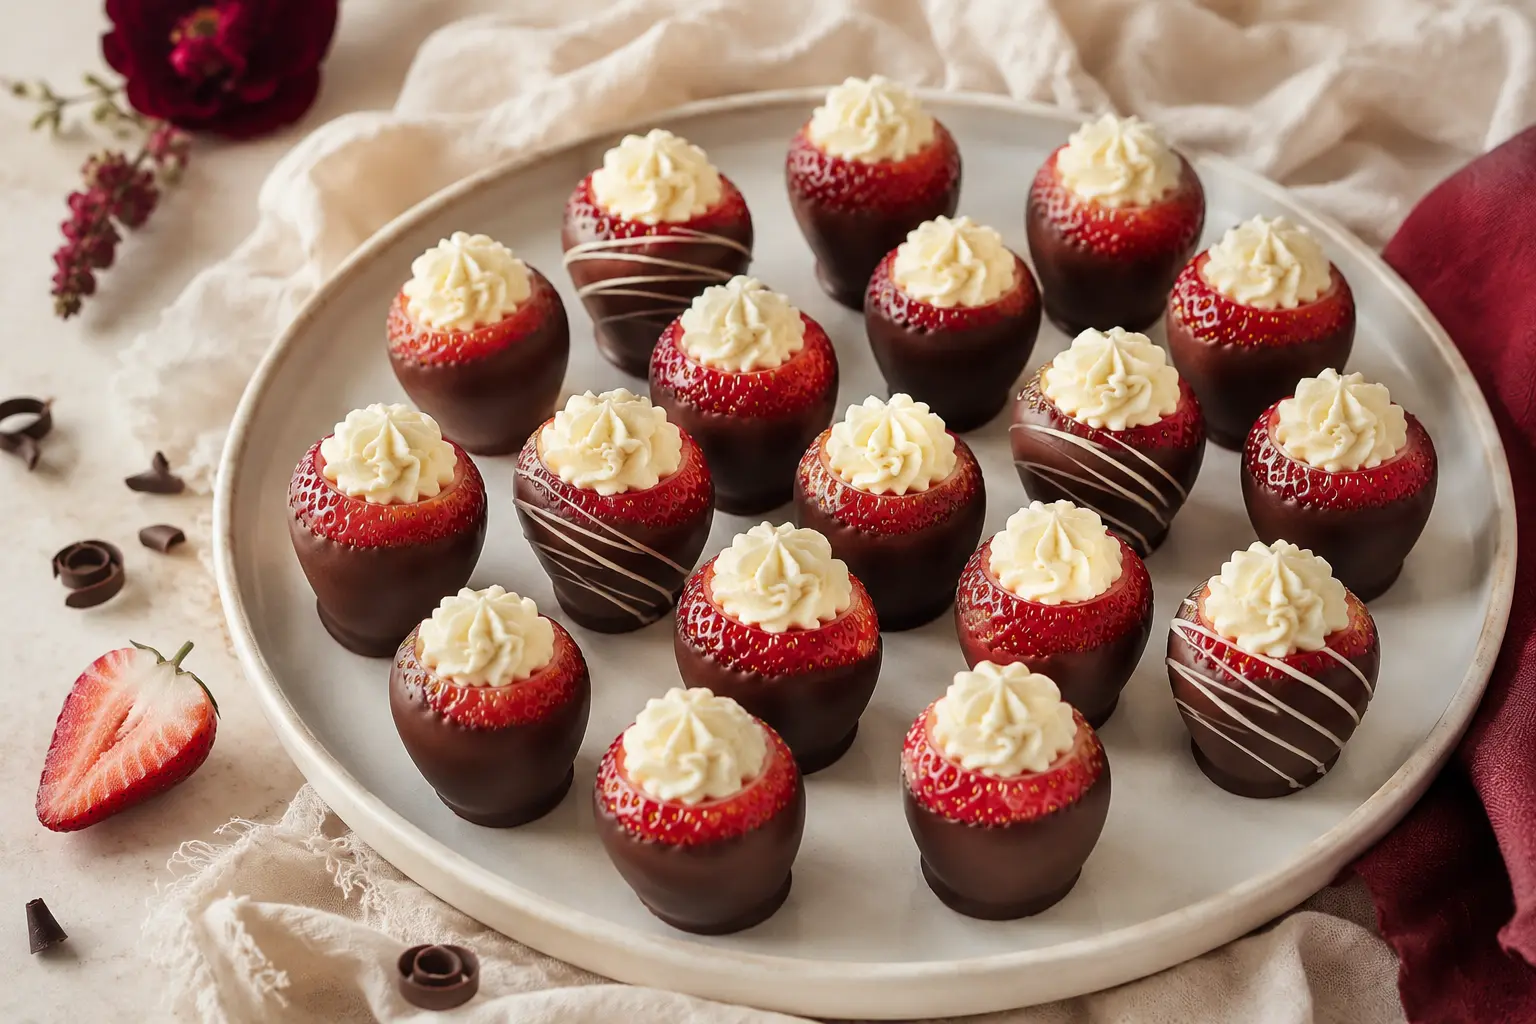
Chocolate-Covered Strawberries with Cheesecake Filling
-
10 Healthy Wrap Recipes for Easy Lunches
-
6 Healthy Sandwich Recipes for Easy Lunches
-
12 Simple School Lunches Kids Will Love
-
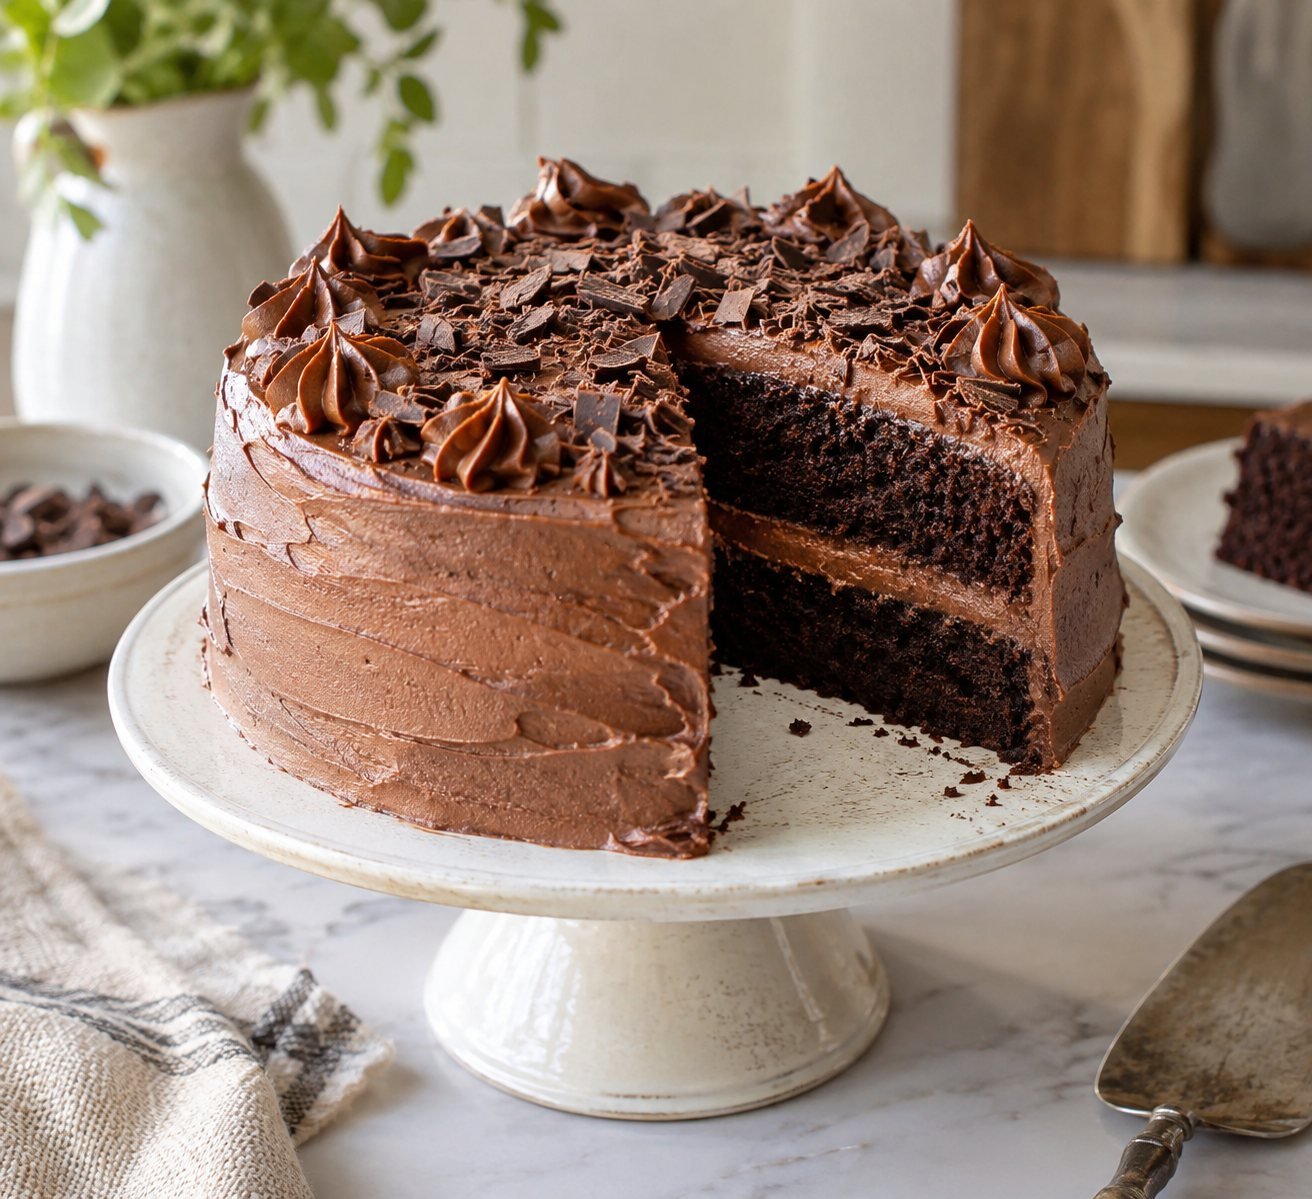
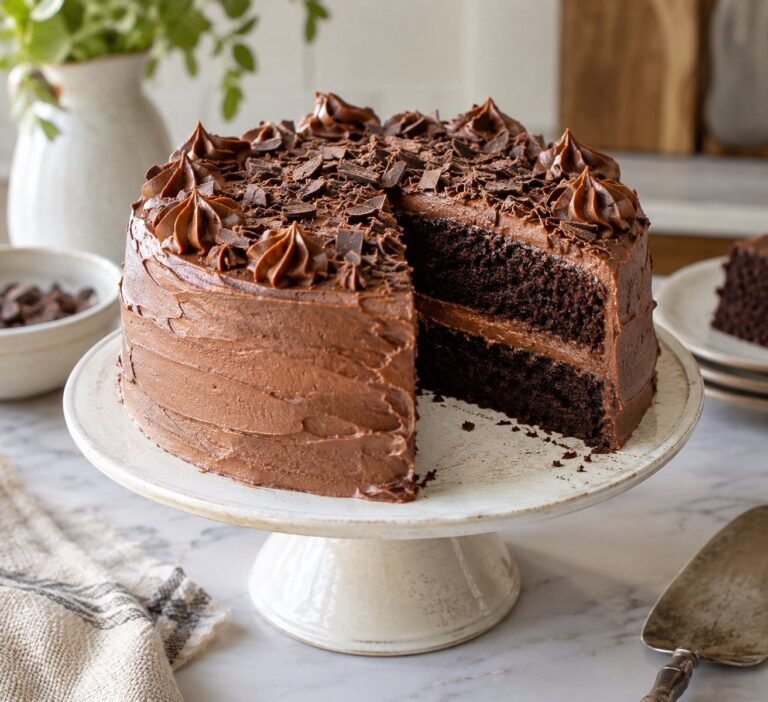
8 Homemade Chocolate Cake Recipes for Every Occasion
-
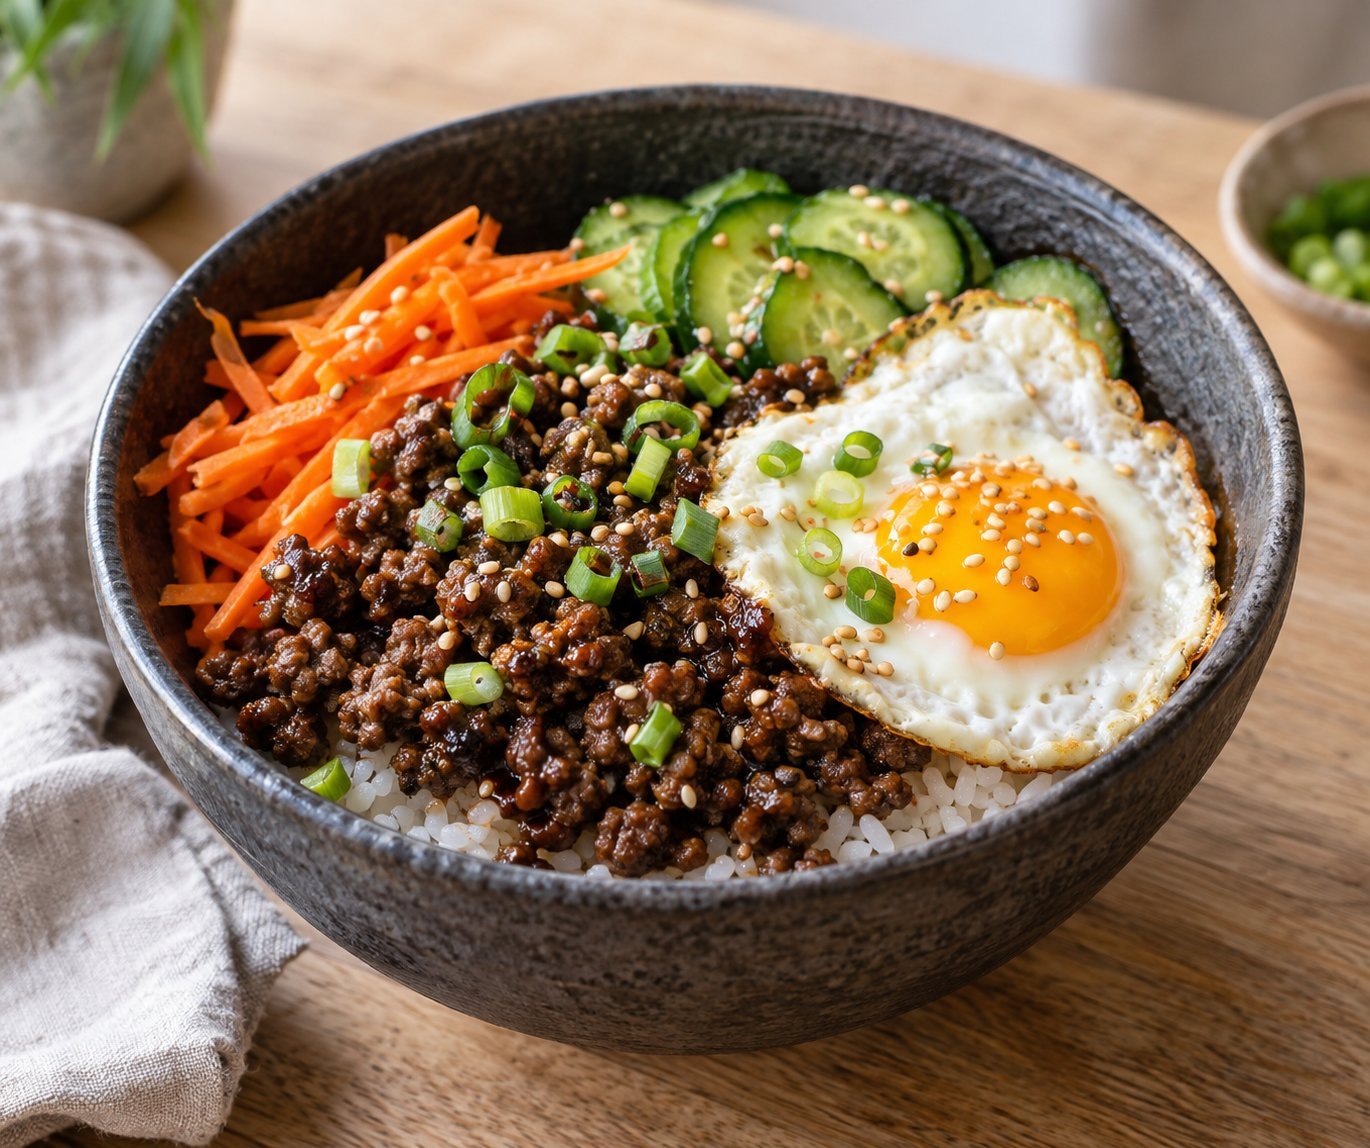
6 Easy Korean Ground Beef Bowl Recipes for Busy Nights
-

8 Refreshing Mocktails to Sip All Summer Long
-
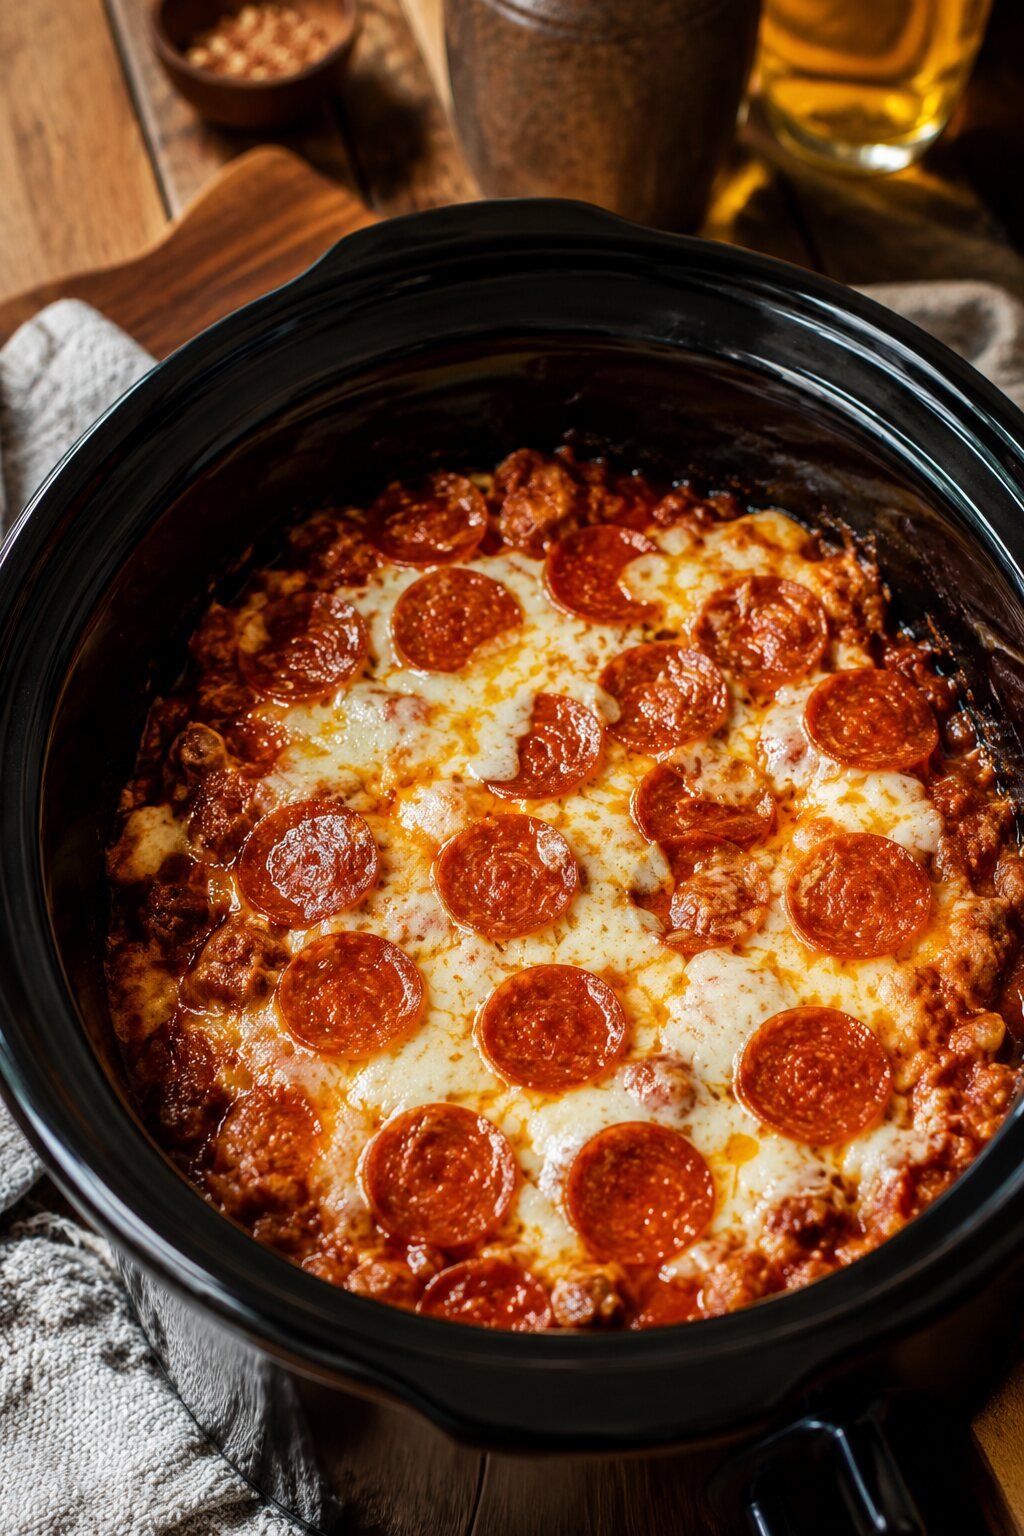
10 Dirt Cheap Crockpot Dinners for Easy Family Meals
-
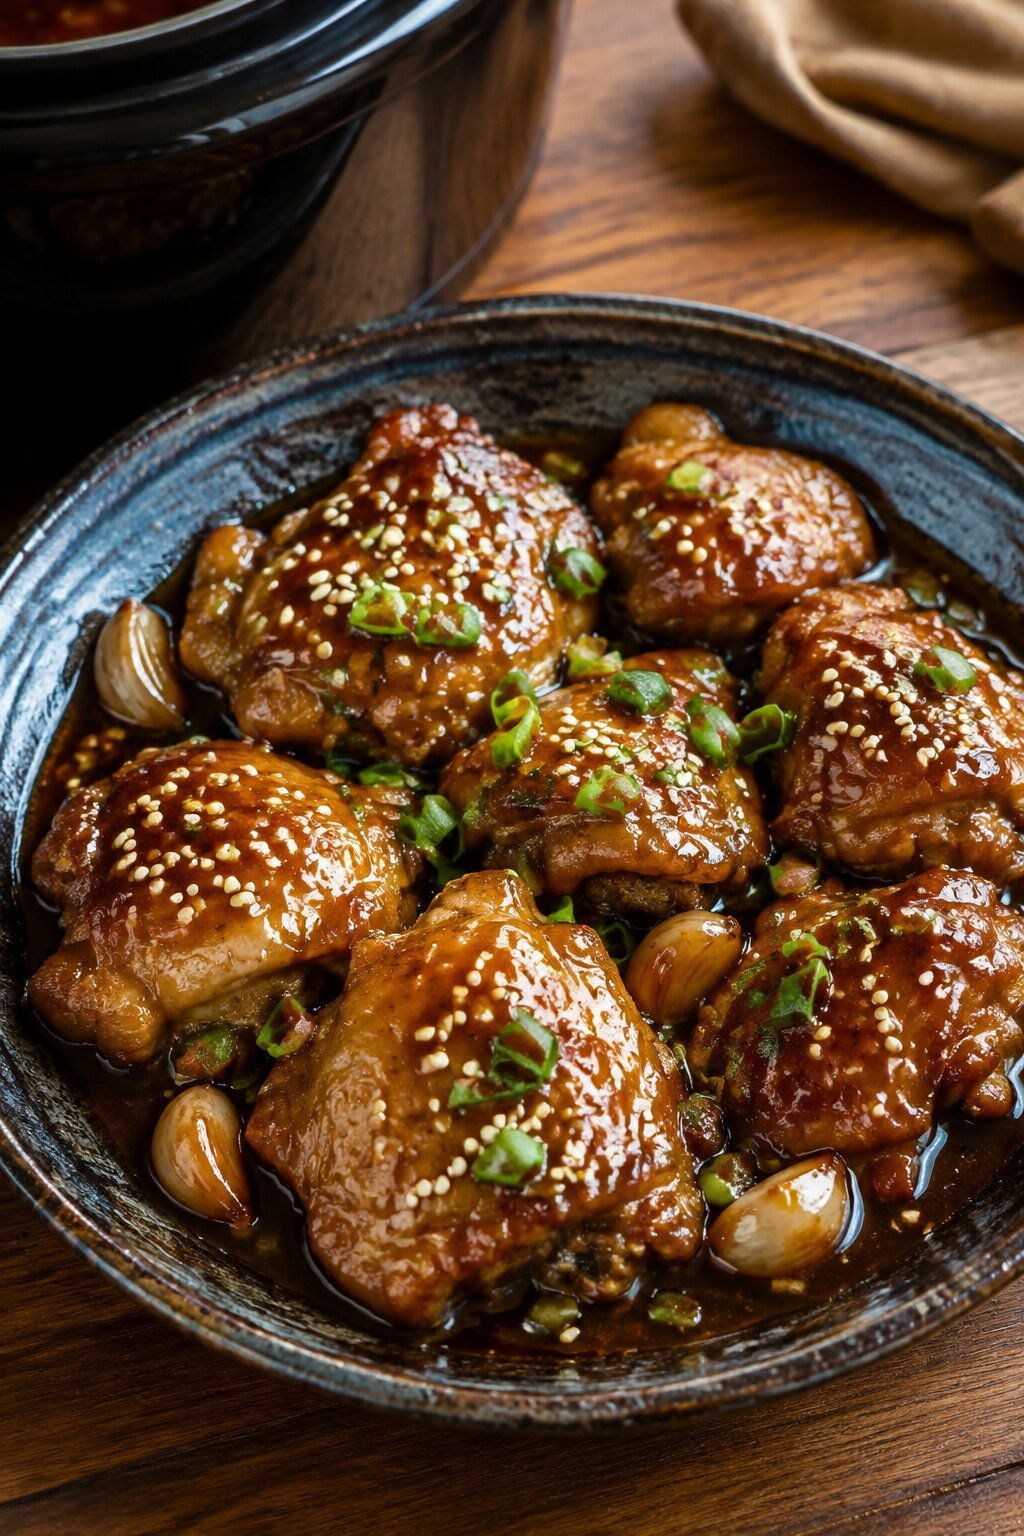
10 Dump and Go Crockpot Dinners for Busy Nights
-
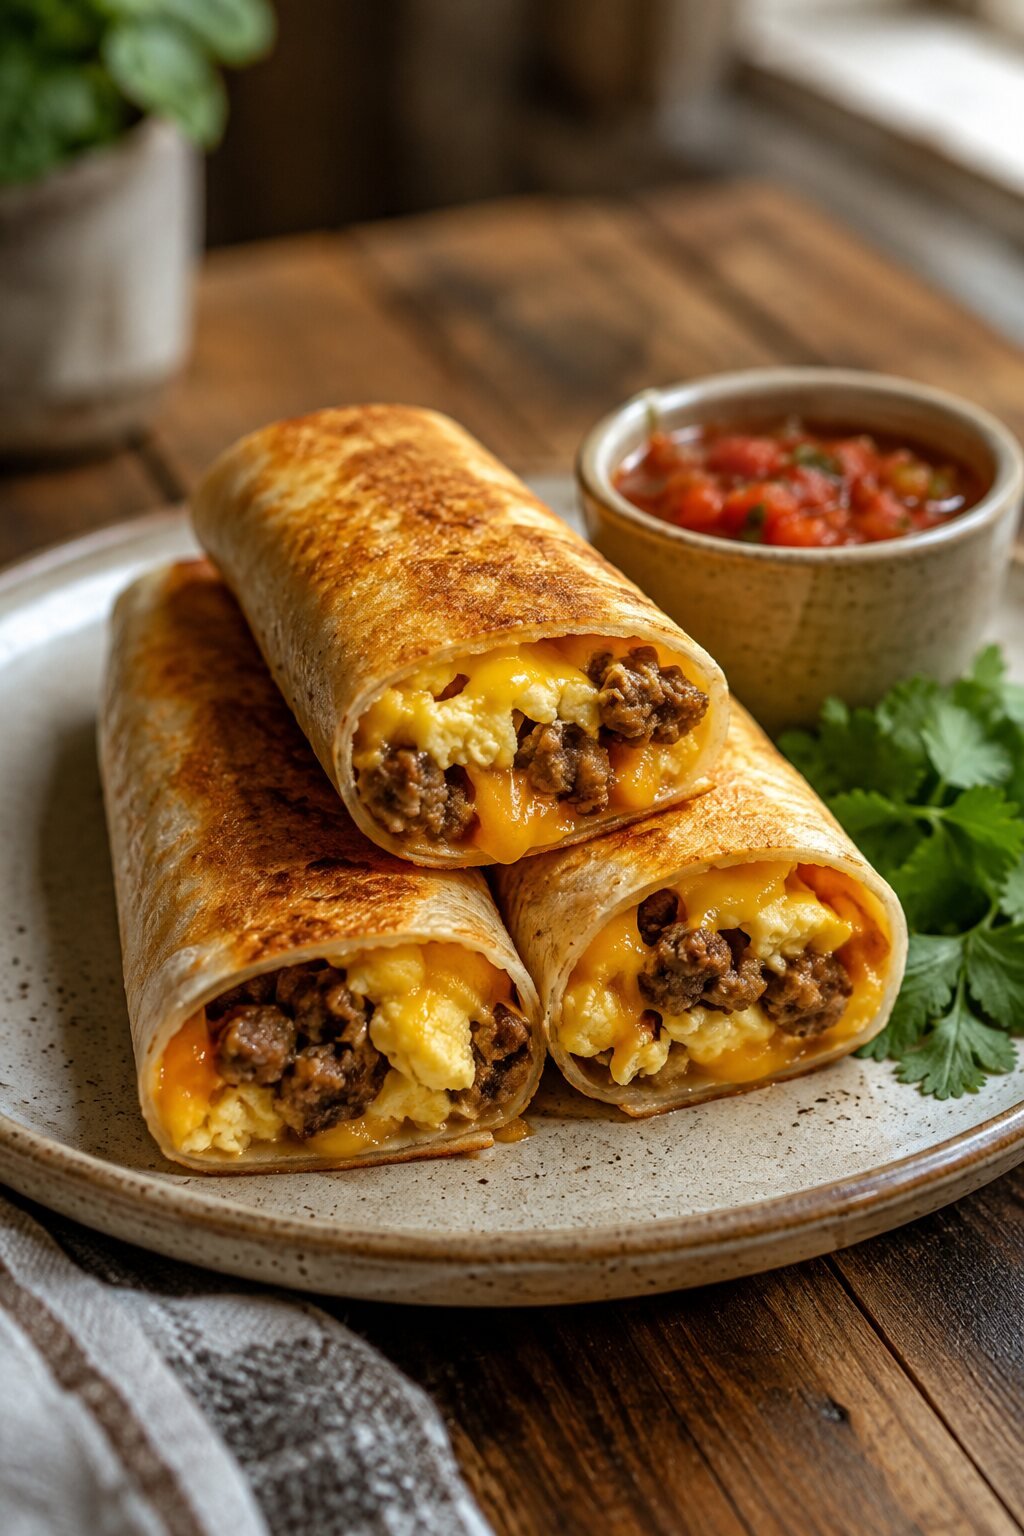
The Best Breakfast Taquitos: 6 Crispy, Cheesy Recipes
-

6 Crispy Breakfast Taquitos Recipes for Easy Mornings
-
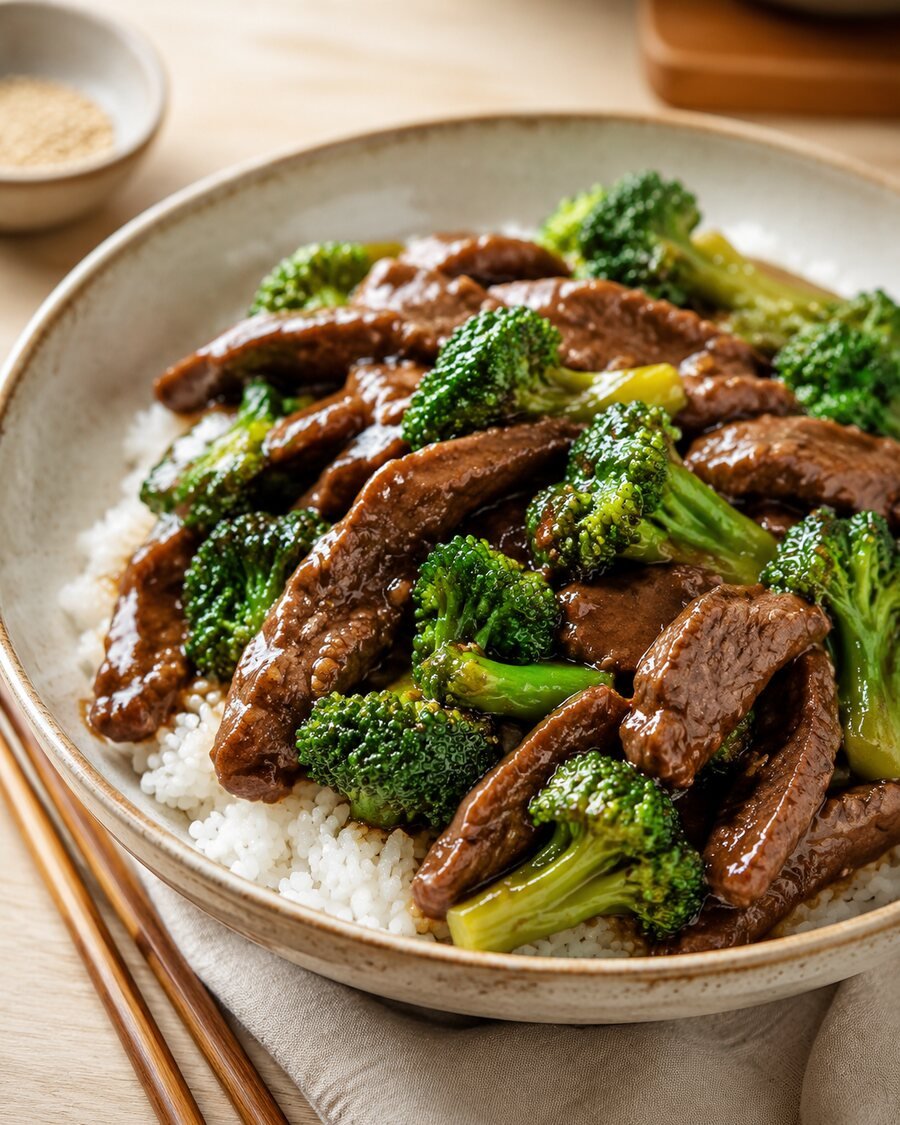
Easy Beef and Broccoli Recipe (Better Than Takeout)
-

7 Fruit-Infused Water Recipes for Fresh Hydration
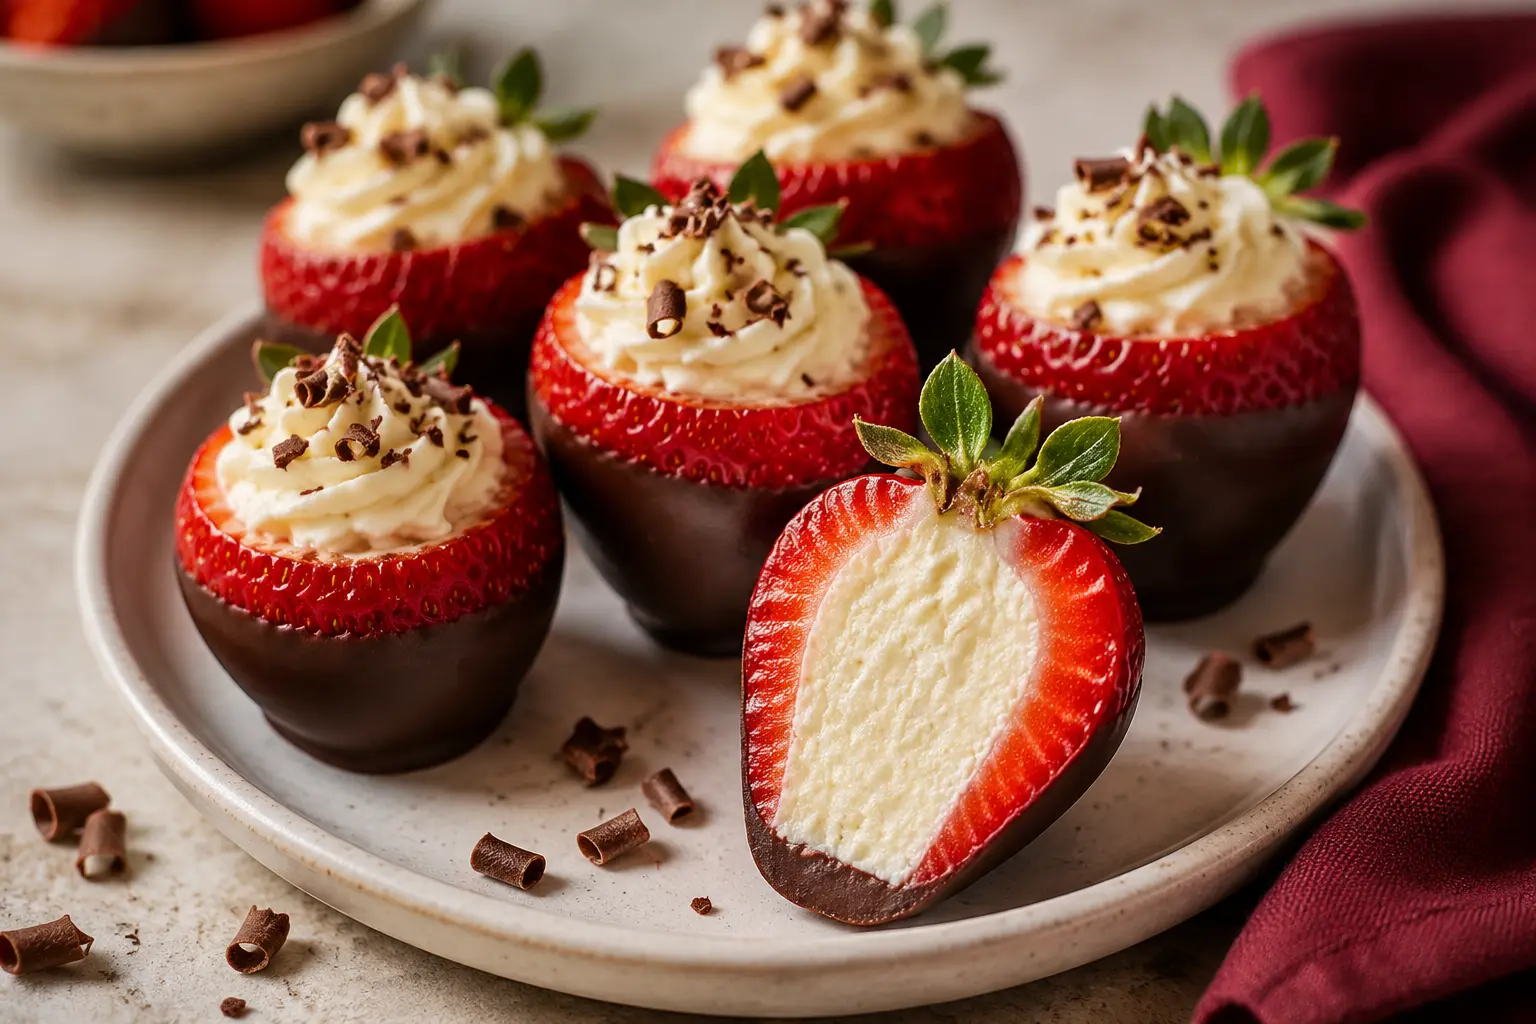
Juicy strawberries, silky cheesecake filling, and a crisp chocolate shell come together in one beautiful bite. These Chocolate Covered Strawberries with Cheesecake Filling look special-occasion fancy, yet the entire no-bake dessert is surprisingly simple to make at home.
Serve these chocolate covered cheesecake stuffed strawberries for Valentine’s Day, birthdays, bridal showers, date nights, holiday dessert boards, or any celebration that calls for something a little extra. The fresh berry keeps each bite light and juicy, the cream cheese center tastes like classic cheesecake, and the dark chocolate coating adds just the right snap.
The easiest route to a neat finish is to dip the hollowed strawberries first, let the chocolate set, and pipe in the cheesecake filling last. That order gives you a secure chocolate base and protects the pretty filling from getting smudged while you dip.
An Easy Dessert That Looks Truly Impressive
Simple to prepare
- No baking, gelatin, or special cheesecake pan required.
- The filling uses a handful of familiar ingredients.
- Most of the total time is hands-off chilling.
Perfect for sharing
- Individual portions are easy to serve at parties.
- The red, ivory, and chocolate colors suit romantic occasions.
- You can decorate a batch several different ways.
Ingredients & Equipment
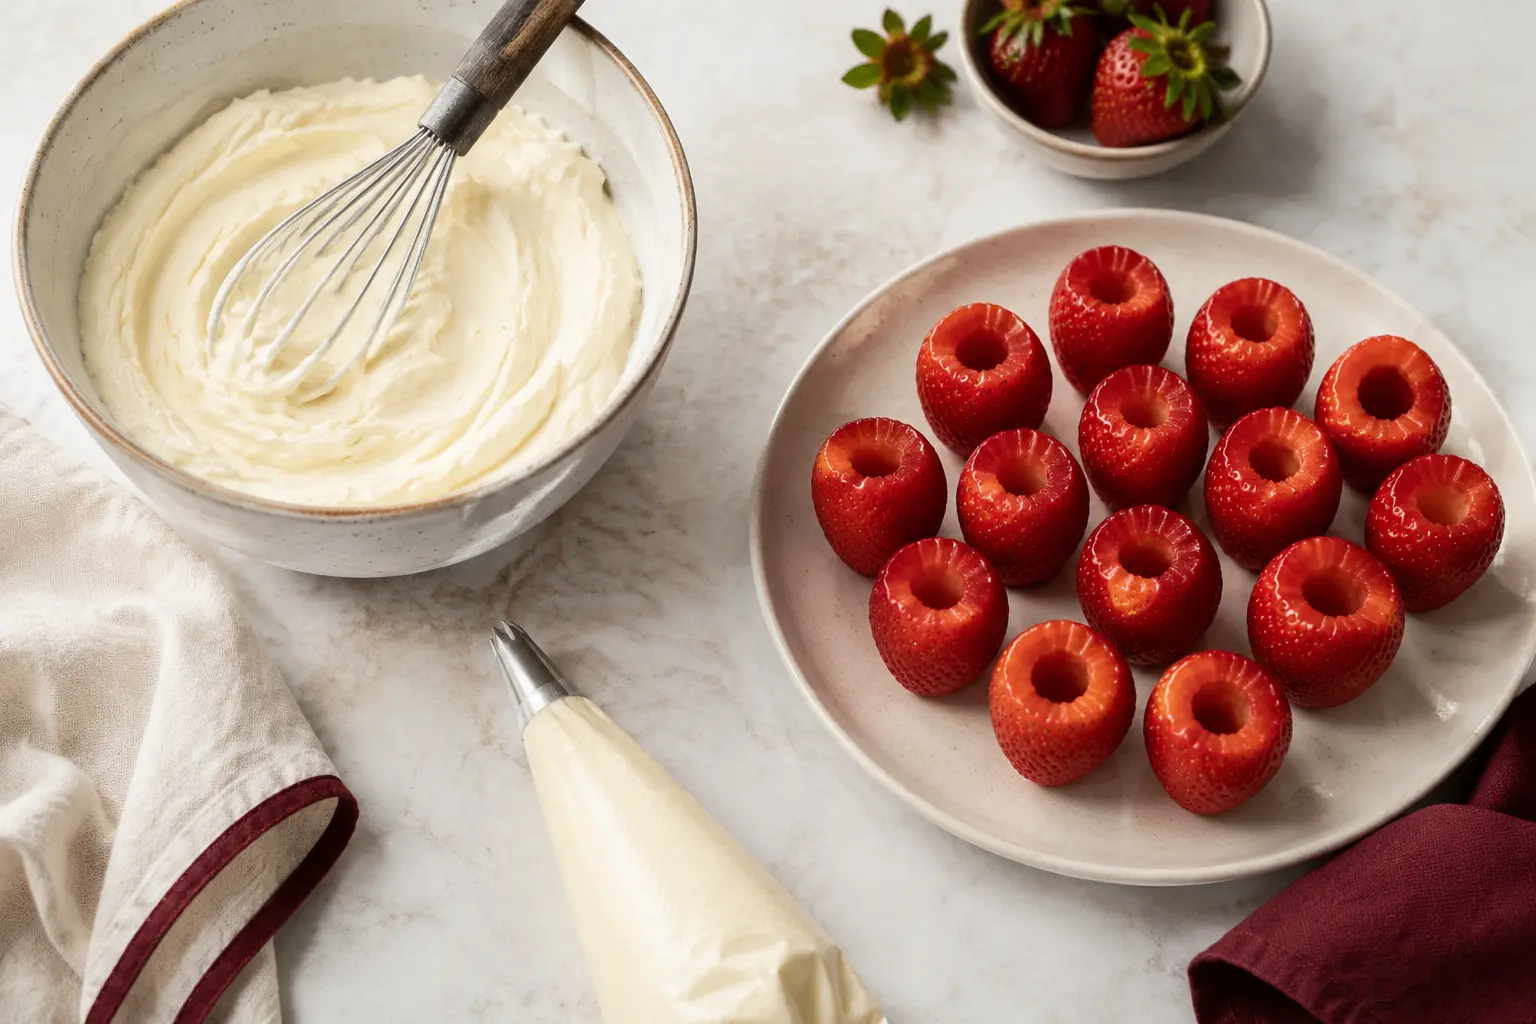
For the strawberries
- 18–20 large, firm strawberries, about 1½ lb
- 1 cup (170 g) semisweet or dark chocolate chips
- 1 tsp coconut oil or neutral oil, optional
For the cheesecake filling
- 1 block (8 oz) full-fat cream cheese, softened
- ⅓ cup powdered sugar, sifted
- 1 tsp vanilla extract
- 1 tsp fresh lemon juice, optional
- Small pinch of salt
Optional decorations
- 2 oz melted white chocolate
- Graham cracker crumbs
- Chocolate curls or finely chopped nuts
Helpful equipment
- Small paring knife or strawberry huller
- Electric hand mixer
- Piping bag with a large star tip
- Microwave-safe bowl
- Parchment-lined tray
Ingredient notes
- Strawberries: Choose large berries that are red, fragrant, and firm—not soft or leaking juice.
- Cream cheese: Block-style full-fat cream cheese makes the most stable filling. Tub-style spread can turn too soft.
- Chocolate: A chopped baking bar usually melts more fluidly, but good-quality chocolate chips are convenient and work well.
- Coconut oil: Use it only if the melted chocolate seems too thick for smooth dipping.
How to Make Chocolate Covered Cheesecake Stuffed Strawberries
Prepare and dip
- Wash and dry: Rinse the whole strawberries under cool water. Pat them dry, then leave them on clean towels until absolutely no moisture remains.
- Hollow the berries: Slice off each leafy top. Use a small paring knife or huller to remove the pale center, creating a cavity about ¾ inch deep. Do not pierce the bottom.
- Make the filling: Beat softened cream cheese for about 1 minute until smooth. Mix in powdered sugar, vanilla, lemon juice, and salt just until creamy. Transfer to a piping bag and refrigerate.
- Melt the chocolate: Microwave the chocolate in 20-second intervals at 50% power, stirring well after each interval. Stop when nearly melted and stir until smooth. Mix in the oil only if needed.
- Dip: Hold each hollowed berry near the top and dip the lower third to half into chocolate. Let excess chocolate drip back into the bowl, then stand the berry cut-side up on parchment.
Fill and finish
- Set the shell: Refrigerate the dipped strawberries for 10–15 minutes, just until the chocolate is firm.
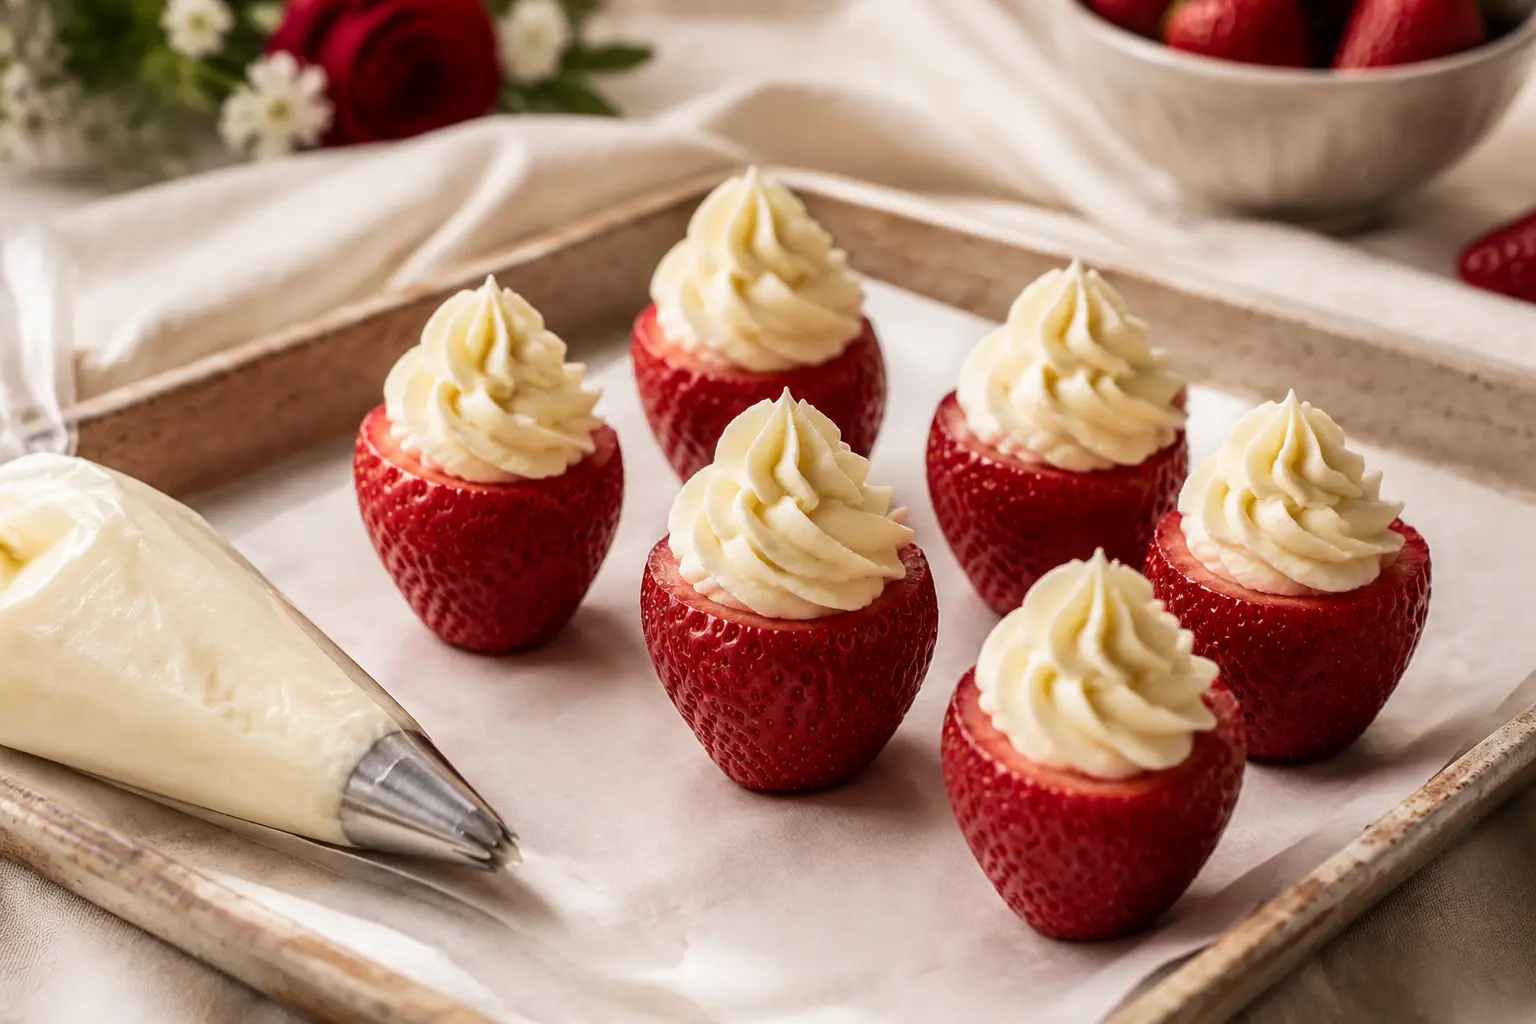
- Pipe the cheesecake: Fill each cavity from the bottom upward and finish with a small rosette above the rim.
- Decorate: Drizzle with white chocolate or add graham crumbs, chocolate curls, or nuts while any drizzle is still wet.
- Chill: Refrigerate for another 15–20 minutes so the filling firms before serving.
- Serve cold: Arrange the strawberries on a chilled plate or dessert board and keep refrigerated until needed.
Do not rush the drying step: Even a little water can make melted chocolate seize or slide away from the berry.
Tips for Picture-Perfect Cheesecake Strawberries
For smooth chocolate
- Use a narrow, deep bowl so dipping is easier.
- Melt slowly and stop heating before every last piece disappears.
- Keep all water, steam, and wet utensils away from the chocolate.
- If it thickens, stir in oil ¼ teaspoon at a time.
For stable filling
- Start with softened—not warm or melted—cream cheese.
- Sift powdered sugar to prevent little lumps in the piping tip.
- Beat only until smooth; overmixing can make the filling loose.
- If the kitchen is warm, chill the piping bag for 10–15 minutes.
Easy Flavor Variations
Chocolate and coating ideas
- White chocolate: Dip the berries in white chocolate and drizzle with dark chocolate.
- Cookies and cream: Press the wet coating into finely crushed chocolate sandwich cookies.
- Nutty crunch: Add finely chopped pistachios, pecans, or hazelnuts.
- Birthday style: Finish with a small pinch of colorful sprinkles.
Cheesecake filling ideas
- Lemon: Add ½ teaspoon finely grated lemon zest.
- Chocolate: Beat 1 tablespoon cocoa powder into the filling.
- Strawberry: Mix in 1 tablespoon freeze-dried strawberry powder.
- Graham cracker: Sprinkle crumbs over the piped filling for classic cheesecake flavor.
Make-Ahead, Storage & Serving
For the best appearance and texture, assemble these strawberries the same day you plan to serve them. You can mix the filling one day ahead and refrigerate it in a covered container. Wash and hollow the berries a few hours ahead, dry them thoroughly, and keep them chilled on paper towels.
Store finished strawberries in a single layer in a covered container lined with paper towel. They are best within 24 hours, although very fresh, dry berries may keep for up to two days. Do not freeze them; thawed strawberries release water and become soft.
Because the dessert contains cream cheese and cut fruit, keep it at 40°F or below and do not leave it at room temperature for more than two hours—or more than one hour when the temperature is above 90°F. See FoodSafety.gov’s four steps to food safety.
Frequently Asked Questions
Can I make cheesecake stuffed strawberries the night before?
Yes, but they look and taste best the day they are made. Assemble them the night before only when the berries are very firm and completely dry, then refrigerate in a single layer.
Why is the chocolate not sticking to my strawberries?
The usual cause is moisture or condensation. Dry the berries thoroughly and let very cold berries lose their surface chill before dipping so condensation does not form.
Why is my cheesecake filling runny?
Tub-style cream cheese, warm cream cheese, or overmixing can make the filling loose. Use full-fat block cream cheese and chill the mixture for 10–20 minutes before piping.
Can I use milk chocolate or white chocolate?
Absolutely. Milk chocolate creates a sweeter shell, while white chocolate gives a softer vanilla flavor. Melt either one gently because both can scorch.
Can I freeze chocolate covered cheesecake strawberries?
Freezing is not recommended. The berries become watery and soft as they thaw, which can crack the coating and thin the filling.
Save This No-Bake Strawberry Dessert
Keep this recipe ready for your next party, romantic dinner, holiday tray, or homemade sweet treat.
Jump to the ingredientsMore Easy Recipes and Food-Safety Guidance
Continue planning simple homemade meals with these Recipe Haven collections:
For safe minimum cooking temperatures and resting times, consult the USDA safe temperature chart.
4 Comments